He asked for chicken nugget bowls three days in a row without being prompted, and I almost dropped the spatula. You know that look, right? The one where they’re staring at the empty spot on the plate like it’s a personal insult. Honestly, I was skeptical at first. Baked chicken nuggets are great for a quick Tuesday dinner, but turning them into a structured meal prep bowl felt like a stretch. I mean, who has time to bake nuggets, chop veggies, and assemble containers before work? That’s why I was so surprised when he cleared his bowl and actually asked if we could do it again the next day. It wasn’t just a quick fix; it became something we looked forward to.
I spent the next weekend testing different breading techniques to make sure they stayed crisp in the fridge. Let’s face it, soggy nuggets are the enemy of any good meal prep. I tried panko, I tried crushed crackers, and I even experimented with almond flour for a lower-carb version. The breakthrough came when I realized that the sauce was the key to keeping everything from getting mushy. A creamy, tangy dipping sauce on the side, or lightly drizzled over the top, keeps the greens fresh and the chicken flavorful. It’s funny how a simple shift in preparation can turn a kid-friendly favorite into a legitimate adult lunch.
Now, these Easy Baked Chicken Nugget Meal Prep Bowls are my go-to for busy weeks. They’re not fancy, and they don’t pretend to be gourmet. But they work. They taste like comfort food but fit into a schedule that doesn’t allow for much wiggle room. Watching my husband eat them with genuine enthusiasm is the only validation I need. It’s not about being a perfect chef; it’s about finding solutions that keep everyone happy and fed. If you’re tired of the same old salad rotation, this might be the wake-up call you didn’t know you needed.
Why You’ll Love This Recipe
Let’s be real for a second. Meal prep usually sounds like a chore. You spend your Sunday chopping vegetables and cooking grains, only to eat the same thing five days in a row. It can feel robotic. But this recipe is different because it taps into that childhood comfort we all have. It’s nostalgic, but it’s also practical. I’ve tested this recipe over dozens of batches, adjusting the spice blends and breading ratios until it was foolproof. Here is why this specific version stands out from the crowd of other chicken meal prep ideas.
- Quick & Easy: The entire process, from prep to finish, takes under 45 minutes. This is perfect for busy weeknights or those last-minute Sunday planning sessions where you just want to get it done and move on.
- Simple Ingredients: You likely already have most of these items in your kitchen. No fancy grocery trips needed. Just chicken, breadcrumbs, spices, and your favorite veggies. It’s accessible cooking for real life.
- Perfect for Meal Prep: Unlike fried foods that get greasy in the fridge, baked nuggets hold up surprisingly well. They are great for lunches, potlucks, or just a simple, stress-free dinner.
- Crowd-Pleaser: These get rave reviews from kids and adults alike. If you have picky eaters, this is your secret weapon. It feels like a treat, but it’s actually a balanced meal.
- Unbelievably Delicious: The texture and flavor combo is next-level comfort food. The crunch of the panko mixed with the tender chicken and fresh veggies creates a satisfying mouthfeel that keeps you coming back.
What makes this recipe different from the rest is the breading technique. Most baked chicken recipes struggle with dryness. I solved this by using a specific ratio of egg to milk in the wash, which creates a barrier that locks in moisture. Plus, the addition of a hidden garlic powder in the breading adds a depth of flavor that regular nuggets just don’t have. It’s not just another version of chicken and rice—it’s your best version of comfort food made healthy and convenient.
This recipe isn’t just good; it’s the kind that makes you close your eyes after the first bite. It’s comfort food reimagined—healthier, faster, but with the same soul-soothing satisfaction. It’s perfect for impressing guests without stress, or turning a simple meal into something memorable. You get the joy of eating something fun without the guilt of deep-fried food.
What Ingredients You Will Need
This recipe uses simple, wholesome ingredients to deliver bold flavor and satisfying texture without the fuss. The beauty of these bowls lies in the balance between the crispy protein and the fresh, crunchy vegetables. You don’t need expensive specialty items to make this work. In fact, the more standard your ingredients, the better it tastes. Here is what you need to gather before you start cooking.
For the Chicken Nuggets
- Chicken Breast: 1.5 lbs, cut into bite-sized strips. I recommend using boneless, skinless chicken breasts for the most consistent cook time. Look for fresh, pink meat with no off smells.
- Panko Breadcrumbs: 1 cup. Panko is essential for that extra crunch. Regular breadcrumbs will make the chicken dense. I prefer Japanese-style panko for its light, airy texture.
- All-Purpose Flour: 1/2 cup. This helps the egg wash stick to the chicken. If you need a gluten-free option, use a 1:1 gluten-free flour blend.
- Eggs: 2 large eggs, beaten. Room temperature eggs blend better with the milk.
- Milk: 1/4 cup. Whole milk or buttermilk works best for tenderness. Buttermilk adds a nice tang.
- Garlic Powder: 1 teaspoon. This adds a savory backbone to the breading.
- Onion Powder: 1 teaspoon. Sweetness that balances the garlic.
- Smoked Paprika: 1 teaspoon. This gives a subtle smokiness that mimics fried flavor.
- Salt and Black Pepper: 1 teaspoon each. Season well, or the nuggets will taste bland.
- Cooking Spray: Olive oil or avocado oil spray. This helps the breadcrumbs brown evenly in the oven.
For the Bowl Assembly
- Cauliflower Rice: 2 cups. This is a great low-carb base. You can buy it pre-riced or make your own by pulsing florets in a food processor.
- Sweet Corn: 1 cup, thawed if frozen. Adds a pop of sweetness and color.
- Red Bell Pepper: 1 medium, diced. Provides crunch and a slight bitterness to cut through the richness.
- Green Onions: 2 stalks, sliced. For a fresh onion bite at the end.
- Avocado: 1 medium, sliced. Adds healthy fats and creaminess.
- Fresh Cilantro: 1/4 cup, chopped. Brightens up the whole dish.
For the Sauce
- Greek Yogurt: 1/2 cup. Use plain, non-fat or 2%. It’s a healthier substitute for mayo.
- Dijon Mustard: 1 tablespoon. Adds tang and complexity.
- Honey: 1 teaspoon. Balances the acidity of the mustard and yogurt.
- Lemon Juice: 1 teaspoon. Freshly squeezed is best for brightness.
- Garlic Clove: 1 small, minced. For that extra garlic kick.
Equipment Needed
You don’t need a fancy kitchen to make this recipe. A few basic tools will get the job done efficiently. The most important piece of equipment is a large baking sheet. I recommend using a rimmed baking sheet so the oil doesn’t spill over. Line it with parchment paper for easy cleanup. This is non-negotiable if you want to avoid scrubbing baked-on crumbs later.
You will also need three shallow bowls or pie dishes for the breading station. One for the flour, one for the egg wash, and one for the panko. This setup allows you to bread the chicken quickly and efficiently. A whisk is necessary for the egg mixture to ensure it’s well-combined. For the sauce, a small bowl and a fork are all you need.
A sharp knife and a cutting board are essential for prepping the vegetables. I prefer a chef’s knife for the chicken and a smaller paring knife for the peppers and onions. If you are making your own cauliflower rice, a food processor is a lifesaver. It saves so much time compared to chopping by hand. Finally, have your meal prep containers ready. Glass containers are best for reheating, as they don’t retain odors and are microwave-safe.
Preparation Method
Getting started with these bowls is straightforward, but attention to detail makes a huge difference in the final result. Follow these steps carefully to ensure your chicken stays crispy and your veggies stay fresh.
- Preheat and Prep: Preheat your oven to 400°F (200°C). Line a large baking sheet with parchment paper. This step is crucial for even browning. If you skip the parchment, the breadcrumbs might stick and burn.
- Prepare the Chicken: Cut the chicken breasts into bite-sized strips, about 1-inch thick. Pat them dry with paper towels. Removing excess moisture is key to getting a good crust. If the chicken is wet, the breading will slide off.
- Set Up Breading Station: In the first shallow bowl, mix the flour, garlic powder, onion powder, smoked paprika, salt, and pepper. In the second bowl, whisk together the eggs and milk. In the third bowl, place the panko breadcrumbs. Keep these stations organized to speed up the process.
- Bread the Chicken: Dredge each chicken strip in the flour mixture, shaking off any excess. Dip it into the egg wash, letting the excess drip off. Finally, press it firmly into the panko breadcrumbs. Make sure the coating is even. Place the breaded chicken on the prepared baking sheet, leaving space between each piece for air circulation.
- Bake the Nuggets: Lightly spray the tops of the chicken with cooking spray. This helps them brown. Bake for 15-18 minutes, flipping halfway through. They are done when the internal temperature reaches 165°F (74°C) and the coating is golden brown. Do not overcrowd the pan, or they will steam instead of bake.
- Prepare the Veggies: While the chicken bakes, cook the cauliflower rice in a skillet over medium heat for 3-4 minutes until tender. Stir in the corn and diced bell pepper for the last minute to warm through. Season with a pinch of salt.
- Make the Sauce: In a small bowl, whisk together the Greek yogurt, Dijon mustard, honey, lemon juice, and minced garlic. Taste and adjust seasoning if needed. This sauce can be made ahead of time.
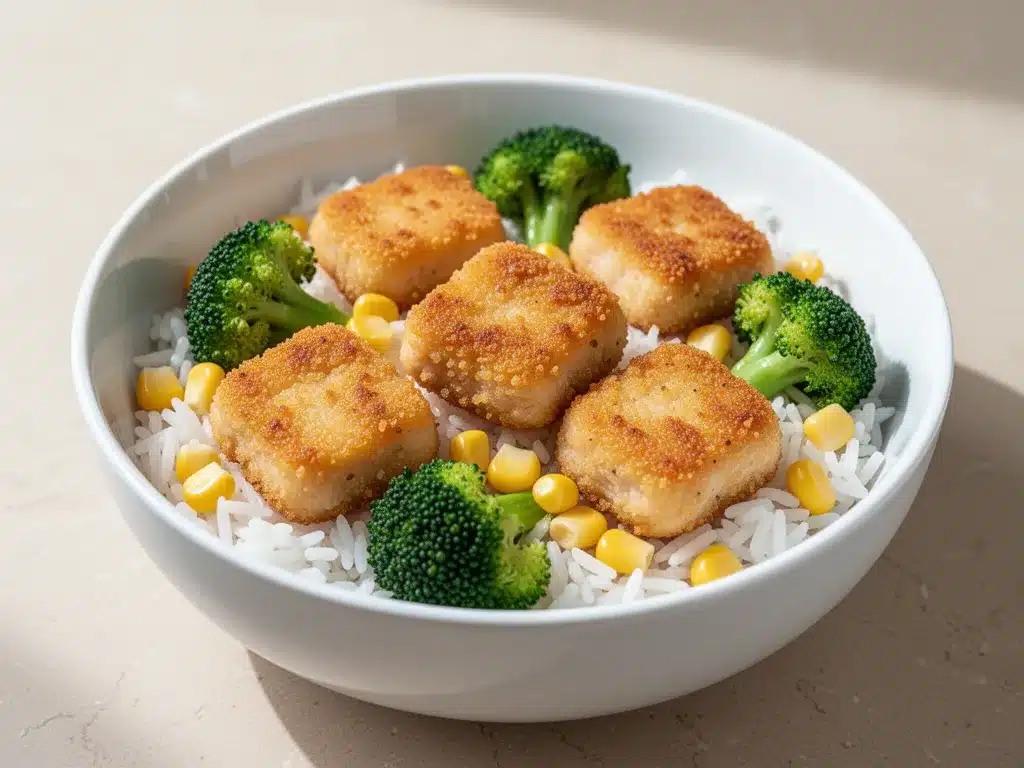
- Assemble the Bowls: In your meal prep containers, start with a base of cauliflower rice and corn mixture. Top with the baked chicken nuggets. Add the fresh avocado slices and green onions. Sprinkle with cilantro.
- Store Properly: Keep the sauce in a separate small container or compartment if possible. If you must pour it over, do so just before eating to maintain crunch. Store in the refrigerator for up to 4 days.
Cooking Tips & Techniques
I learned the hard way that baking chicken nuggets requires a bit of patience. The biggest mistake people make is not drying the chicken thoroughly. Moisture is the enemy of crispiness. If you skip the paper towel step, your nuggets will be steamed. Also, pressing the breadcrumbs firmly into the chicken is vital. I used to just dust them on, and they would fall off in the oven. Now, I press down with my thumb to ensure they stick.
Another tip is to use a wire rack on top of your baking sheet. This allows hot air to circulate under the chicken, cooking it evenly on all sides. If you don’t have a rack, flipping the chicken halfway through is essential. I also recommend not overcrowding the pan. If the pieces are touching, they will steam each other. Give them space to breathe.
For the veggies, don’t overcook the cauliflower rice. It can get mushy quickly. I like to keep it slightly al dente so it has some texture. The sweet corn adds a nice contrast, but make sure it’s thawed if you’re using frozen. Ice crystals can make the dish watery. Finally, let the chicken cool for a few minutes before assembling. This prevents the heat from wilting the fresh veggies too quickly.
Variations & Adaptations
One of the best things about this recipe is how adaptable it is. You can tweak it to fit your dietary needs or taste preferences. Here are a few variations I’ve tried with great success.
Gluten-Free Option: Simply swap the all-purpose flour and panko breadcrumbs for gluten-free alternatives. Look for gluten-free panko, which is widely available now. Almond flour also works well for a nutty flavor, though it browns faster, so keep an eye on the oven.
Low-Carb Version: Skip the cauliflower rice and use a bed of mixed greens or zucchini noodles. You can also use pork rinds crushed into a fine powder as a breading substitute for the chicken. It’s surprisingly crispy and adds a savory crunch.
Spicy Kick: Add cayenne pepper or chili flakes to the panko mixture. If you like heat, serve the bowls with a spicy mayo or hot sauce on the side. This transforms the dish from mild to bold.
Vegetarian Twist: Use chickpeas or firm tofu cubes instead of chicken. Marinate them in the same spice blend before baking. The technique remains the same, and the result is just as satisfying.
Serving & Storage Suggestions
These bowls are best served cold or at room temperature for lunch. The flavors meld together nicely after a few hours in the fridge. If you prefer warm nuggets, reheat them in the oven or an air fryer at 350°F for 5-7 minutes. This restores the crunch better than the microwave. Avoid microwaving the entire bowl, as the steam will soften the breading.
For storage, keep the sauce separate if you can. This is the golden rule of meal prep with crispy elements. If you must mix it, add it right before eating. The bowls will stay fresh in the refrigerator for up to 4 days. You can also freeze the baked chicken nuggets for up to 3 months. Thaw them in the fridge overnight and reheat before serving. The veggies do not freeze well, so add fresh ones after thawing.
Nutritional Information & Benefits
Each bowl provides a balanced mix of protein, healthy fats, and complex carbohydrates. The chicken breast is a lean protein source, essential for muscle repair and satiety. The cauliflower rice adds fiber and vitamins without the heavy carb load of white rice. Avocado provides monounsaturated fats, which are good for heart health. The Greek yogurt sauce adds probiotics and calcium, making this a nutrient-dense meal. It’s a great option for anyone looking to maintain a healthy weight without sacrificing flavor.
Conclusion
These Easy Baked Chicken Nugget Meal Prep Bowls are a game-changer for busy weeks. They are fun, healthy, and incredibly easy to make. I hope you try this recipe and find it as useful as I do. Feel free to customize the veggies and sauce to suit your taste. Don’t forget to leave a comment and let me know how it turned out. Happy cooking!
Frequently Asked Questions
Can I use chicken thighs instead of breast?
Yes, chicken thighs are juicier and more flavorful. Just make sure to cut them into similar-sized pieces and check for doneness, as thighs may take slightly longer to cook.
How do I keep the nuggets crispy?
The key is baking them on a parchment-lined sheet with space between each piece. Avoid stacking them, and reheat in an oven or air fryer rather than a microwave.
Can I make the breading ahead of time?
You can mix the dry ingredients ahead, but it’s best to bread the chicken just before baking to prevent the coating from getting soggy.
What can I substitute for panko?
Crushed cornflakes or gluten-free panko work well. Almond flour is also a good low-carb option, though it browns faster.
How long do these bowls last in the fridge?
They stay fresh for up to 4 days when stored in airtight containers. The chicken remains safe to eat, but the veggies may soften slightly over time.
Pin This Recipe!
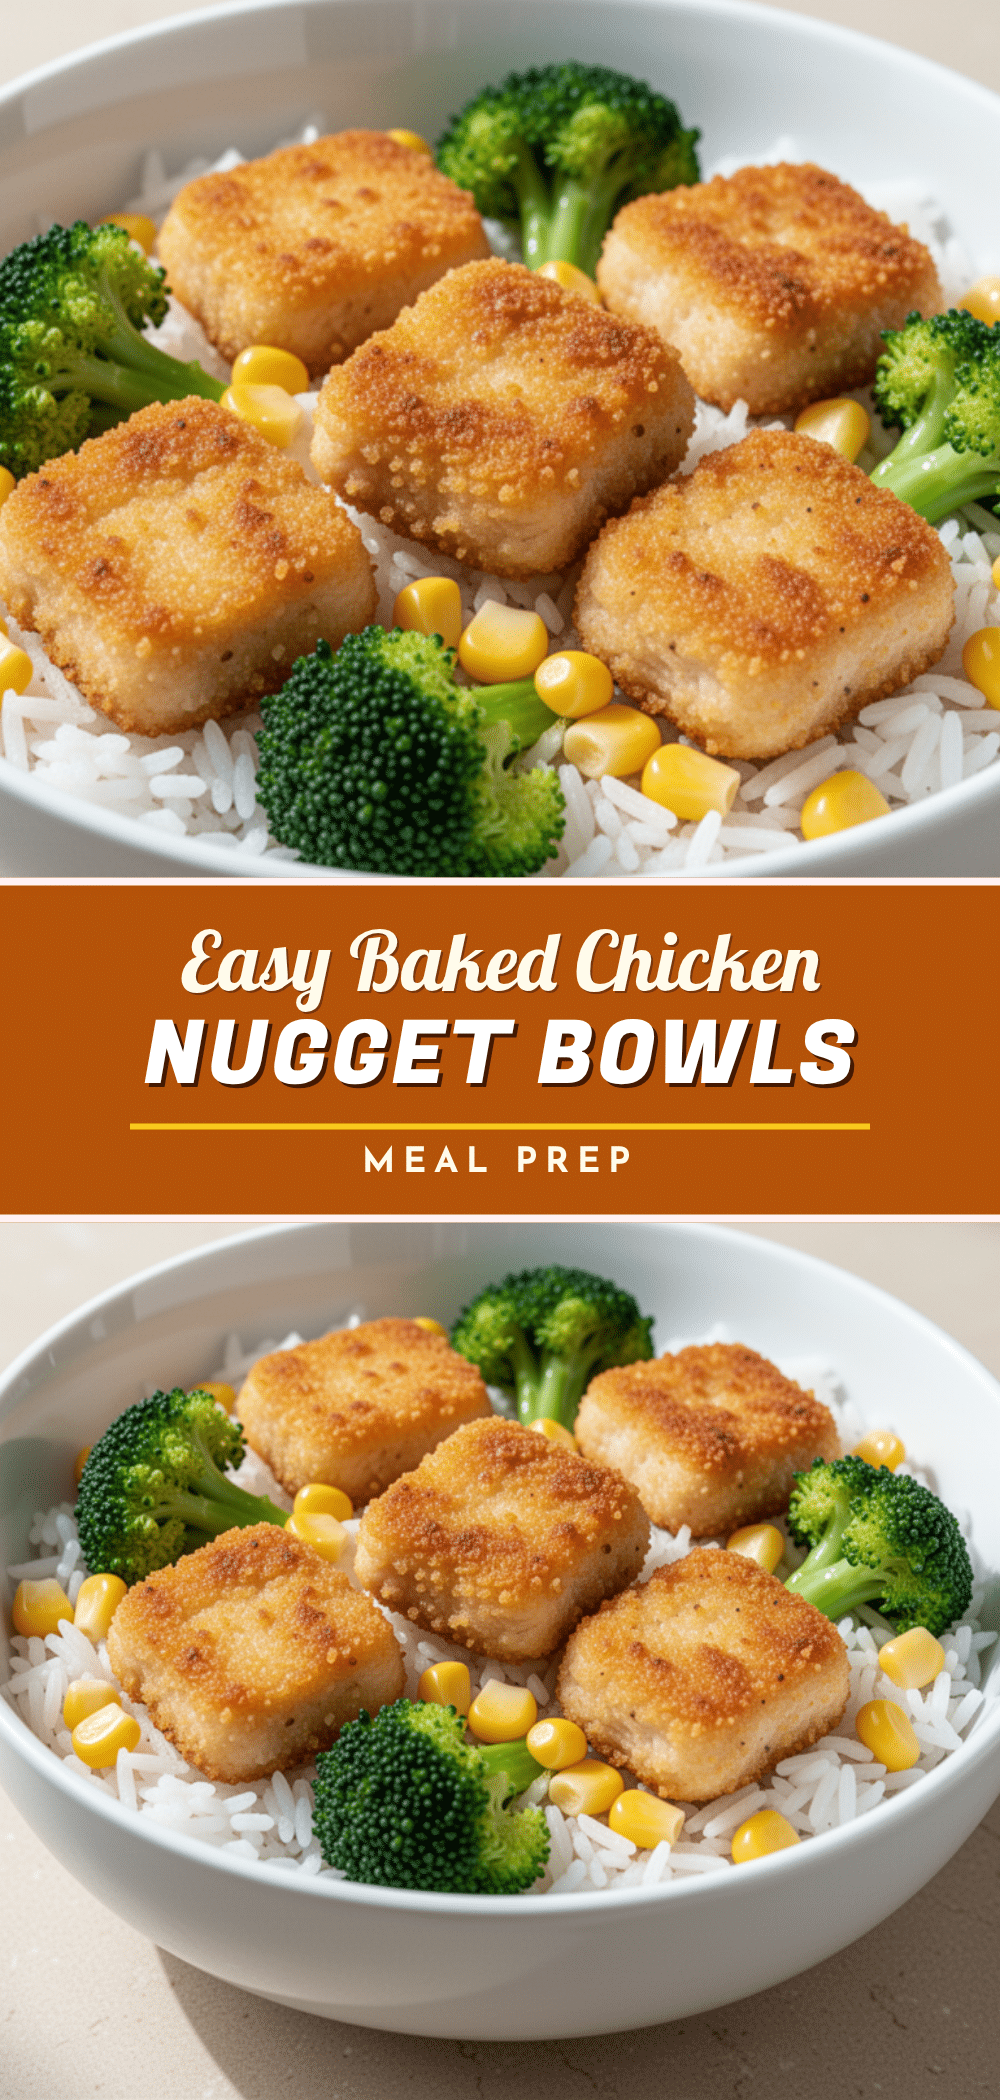
Easy Baked Chicken Nugget Meal Prep Bowls
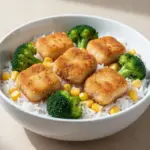
A quick and healthy meal prep solution featuring crispy baked chicken nuggets served over cauliflower rice with fresh vegetables and a tangy Greek yogurt sauce.
- Prep Time: 15 minutes
- Cook Time: 20 minutes
- Total Time: 35 minutes
- Yield: 4 servings 1x
- Category: Main Course
- Cuisine: American
Ingredients
- 1.5 lbs boneless, skinless chicken breast, cut into bite-sized strips
- 1 cup panko breadcrumbs
- 1/2 cup all-purpose flour
- 2 large eggs, beaten
- 1/4 cup milk (whole or buttermilk)
- 1 teaspoon garlic powder
- 1 teaspoon onion powder
- 1 teaspoon smoked paprika
- 1 teaspoon salt
- 1 teaspoon black pepper
- Olive oil or avocado oil cooking spray
- 2 cups cauliflower rice
- 1 cup sweet corn, thawed
- 1 medium red bell pepper, diced
- 2 stalks green onions, sliced
- 1 medium avocado, sliced
- 1/4 cup fresh cilantro, chopped
- 1/2 cup Greek yogurt (plain, non-fat or 2%)
- 1 tablespoon Dijon mustard
- 1 teaspoon honey
- 1 teaspoon lemon juice
- 1 small garlic clove, minced
Instructions
- Preheat oven to 400°F (200°C) and line a large rimmed baking sheet with parchment paper.
- Pat chicken strips dry with paper towels to ensure crispiness.
- Set up a breading station with three shallow bowls: one with flour mixed with garlic powder, onion powder, smoked paprika, salt, and pepper; one with whisked eggs and milk; and one with panko breadcrumbs.
- Dredge each chicken strip in the flour mixture, dip in the egg wash, and press firmly into the panko breadcrumbs.
- Place breaded chicken on the baking sheet, ensuring space between pieces for air circulation.
- Lightly spray the tops of the chicken with cooking spray.
- Bake for 15-18 minutes, flipping halfway through, until internal temperature reaches 165°F (74°C) and coating is golden brown.
- While chicken bakes, cook cauliflower rice in a skillet over medium heat for 3-4 minutes. Stir in corn and bell pepper for the last minute to warm through.
- Whisk together Greek yogurt, Dijon mustard, honey, lemon juice, and minced garlic to make the sauce.
- Assemble bowls with cauliflower rice base, topped with baked nuggets, fresh avocado, green onions, and cilantro.
- Store sauce separately and refrigerate bowls for up to 4 days.
Notes
Ensure chicken is patted dry before breading to prevent steaming. Do not overcrowd the baking sheet to allow for proper browning. Keep sauce separate until serving to maintain the crunch of the nuggets. For reheating, use an oven or air fryer at 350°F for 5-7 minutes to restore crispiness.
Nutrition
- Serving Size: 1 bowl per serving
- Calories: 450
- Sugar: 6
- Sodium: 650
- Fat: 18
- Saturated Fat: 4
- Carbohydrates: 35
- Fiber: 8
- Protein: 38
Keywords: chicken nuggets, meal prep, baked chicken, healthy lunch, cauliflower rice, easy dinner, kid-friendly, gluten-free option