I burned three pans of pie dough before figuring out why the crusts kept turning into charcoal briquettes instead of flaky pastry. It wasn’t the oven temperature, and it wasn’t the quality of the butter, which was actually pretty decent. I was rushing. I was trying to make these Crispy Salted Caramel Apple Hand Pies look like they came from a high-end French patisserie when I barely knew how to roll a rolling pin without wobbles.
The kitchen smelled like scorched flour and regret for about twenty minutes each time. I scraped the blackened bits off the baking sheet, feeling that familiar wave of frustration that makes you want to order pizza and give up on baking entirely. But then I stopped. I let the butter get cold again. I stopped overworking the dough. I accepted that hand pies are messy, imperfect, and totally worth the effort.
The first time I actually got it right, the crust shattered when I bit into it. It wasn’t perfect. The edges were a little uneven, and one of the pies leaked a tiny bit of caramel onto the pan. But the smell? That was pure autumn. Sweet apples, rich butter, and that deep, salty kick of caramel. It tasted like a crisp October afternoon, even though it was still ninety degrees outside.
I’ve made these dozens of times since then. I’ve tried different apples, different sugars, even different types of fat. But the core truth remains: patience with the dough is everything. You don’t need to be a professional baker to make this. You just need to be willing to admit when you’re messing up and start over. These hand pies aren’t about perfection. They’re about that first bite where the crunch gives way to warm, gooey fruit and you realize that the mess was worth it.
Why You’ll Love This Recipe
There is something deeply satisfying about holding a warm, handheld dessert in your palms. These Crispy Salted Caramel Apple Hand Pies hit a sweet spot that traditional whole pies just can’t reach. They are portable, personal, and ridiculously delicious. Here is why this recipe has earned a permanent spot in my weekly rotation.
- Quick & Easy: Once the dough is prepped, these come together in under 45 minutes. They are perfect for busy weeknights or when you need a last-minute dessert for unexpected guests.
- Simple Ingredients: You likely already have everything you need in your kitchen. Flour, butter, apples, sugar, and caramel. No fancy grocery trips or obscure ingredients required.
- Perfect for Fall Gatherings: Whether it’s a Halloween party, a Thanksgiving side, or just a cozy Tuesday, these fit any occasion. They look festive and taste even better.
- Crowd-Pleaser: Kids love the hand-held format, and adults appreciate the sophisticated salted caramel flavor. It’s a win-win that gets rave reviews from everyone.
- Unbelievably Delicious: The texture contrast is next-level. You get the shatter of the flaky crust, the tender bite of the cooked apple, and the sticky sweetness of the caramel all in one bite.
What makes this recipe different from the rest is the balance. Many apple pie recipes are too sweet or too soggy. By using a short bake time and a specific apple variety, we keep the structure intact. The salted caramel isn’t just a drizzle on top; it’s folded into the filling, creating pockets of flavor that surprise you with every bite. It’s comfort food reimagined—faster, easier, but with the same soul-soothing satisfaction as a slice of classic apple pie. It’s perfect for impressing guests without the stress of making a full-sized pie.
What Ingredients You Will Need
This recipe uses simple, wholesome ingredients to deliver bold flavor and satisfying texture without the fuss. The magic happens in the ratio of fat to flour and the choice of apples. You want apples that hold their shape but break down enough to create a filling, not a soup.
For the Flaky Dough
- All-Purpose Flour: 2 cups (about 250g). I recommend King Arthur Brand for its consistent protein content, which helps with that perfect chew.
- Unsalted Butter: 1 cup (2 sticks), very cold and cubed. This is non-negotiable. Warm butter makes tough pie crusts.
- Vegetable Oil: 2 tablespoons. A little oil helps inhibit gluten formation, ensuring the crust stays tender and crumbly.
- Ice Water: 6-8 tablespoons. Use water straight from the fridge with a few ice cubes in it. The colder, the better.
- Salt: 1 teaspoon. Enhances the flavor of the dough and balances the sweetness.
- Sugar: 1 tablespoon. Just a pinch to help with browning.
For the Apple & Caramel Filling
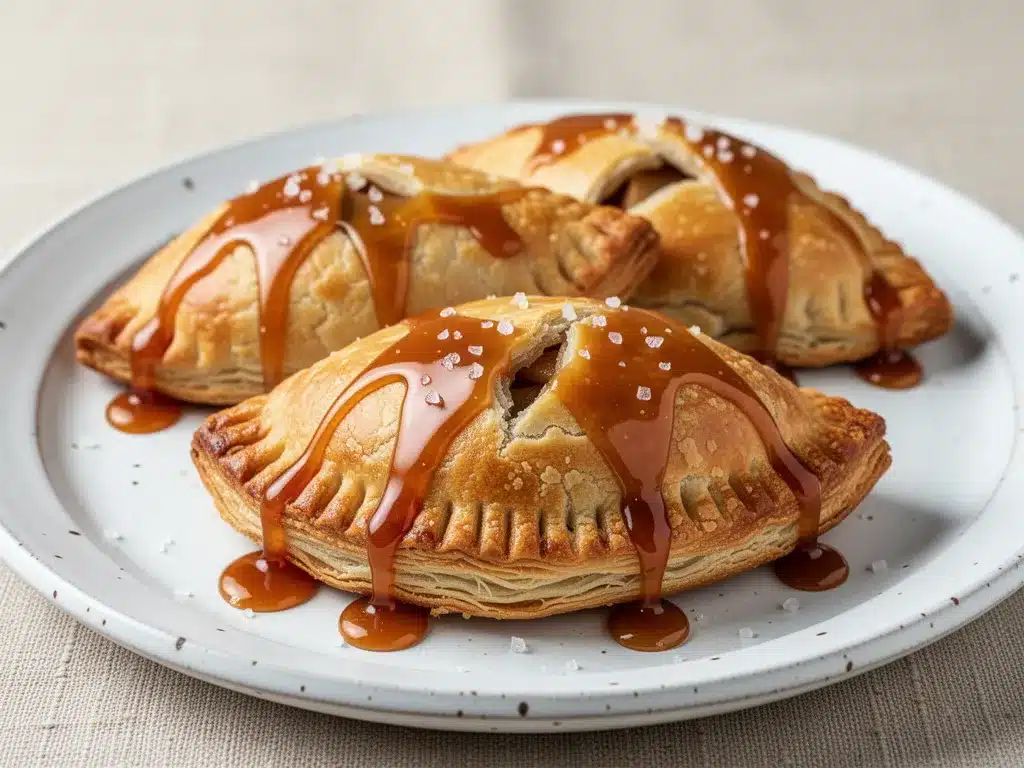
- Granny Smith Apples: 3 medium apples, peeled and diced. Granny Smiths offer the best tartness and structural integrity. Honeycrisp is a good substitute if you prefer less tartness.
- Homemade or High-Quality Salted Caramel: 1 cup. I prefer a thick, pourable caramel. If using store-bought, look for a brand with minimal ingredients.
- Brown Sugar: 2 tablespoons. Adds moisture and a deeper molasses flavor.
- Ground Cinnamon: 1 teaspoon. The classic apple spice.
- Ground Ginger: 1/4 teaspoon. Adds a subtle warmth that pairs beautifully with caramel.
- Lemon Juice: 1 teaspoon. Prevents the apples from browning and adds brightness.
- Cornstarch: 1 tablespoon. Essential for thickening the juices so the pies don’t get soggy.
For the Egg Wash & Topping
- Egg: 1 large, beaten with 1 tablespoon water. Creates that golden, shiny finish.
- Sugar: 1 tablespoon coarse or turbinado sugar. For that professional bakery crunch on top.
Equipment Needed
You don’t need a fancy kitchen to make these, but having the right tools helps. A large baking sheet lined with parchment paper is essential. Parchment prevents sticking and makes cleanup a breeze. A rolling pin works best, though a wine bottle can do in a pinch if you’re desperate.
A 4-inch round cutter or a drinking glass is perfect for creating uniform hand pies. If you don’t have a cutter, a sharp knife works too, though the edges might be a bit rougher. A pastry brush is useful for applying the egg wash evenly. I also recommend a fork for crimping the edges, which not only seals the pies but adds a nice decorative touch. Keep a small bowl of ice water nearby to refresh your hands if the dough gets too warm while you’re working.
Preparation Method
Step 1: Make the Dough (15 minutes)
In a large mixing bowl, combine the flour, salt, and sugar. Add the cold, cubed butter and the vegetable oil. Using a pastry cutter or your fingers, work the butter into the flour until the mixture resembles coarse crumbs with some pea-sized pieces of butter remaining. Do not overmix; those chunks of butter are what create the flaky layers. Gradually add the ice water, one tablespoon at a time, mixing gently with a spatula until the dough just starts to come together. It should hold together when pinched but still look shaggy.
Step 2: Chill the Dough (30 minutes)
Divide the dough into two equal disks. Wrap them tightly in plastic wrap. Place them in the refrigerator for at least 30 minutes. This step is crucial. It allows the gluten to relax and the butter to re-solidify, which ensures a tender crust. If you skip this, your pies will shrink in the oven.
Step 3: Prepare the Filling (10 minutes)
While the dough chills, peel and dice the apples into small, uniform cubes. In a medium bowl, toss the apple cubes with lemon juice, brown sugar, cinnamon, ginger, and cornstarch. Fold in the salted caramel. Be gentle here; you want the apples coated, not mushy. If the caramel is very thick, you might want to microwave it for 10 seconds to make it easier to mix.
Step 4: Roll and Cut (15 minutes)
Preheat your oven to 375°F (190°C). Line a large baking sheet with parchment paper. Take one disk of dough out of the fridge. On a lightly floured surface, roll it out to about 1/8 inch thickness. Use your 4-inch cutter to cut out circles. You should get about 10-12 circles from each disk. If the dough cracks, just press it back together; it’s fine.
Step 5: Assemble the Hand Pies (15 minutes)
Place a teaspoon of the apple filling in the center of each dough circle. Be careful not to overfill, or the caramel will leak out. Fold the dough over the filling to create a half-moon shape. Press the edges together firmly with your fingers, then crimp with a fork to seal. Poke a small slit in the top of each pie with a knife to allow steam to escape. This prevents the pies from bursting open.
Step 6: Bake (20-25 minutes)
Brush the tops of the hand pies with the egg wash and sprinkle generously with coarse sugar. Bake for 20-25 minutes, or until the crust is deep golden brown. If the edges are browning too quickly, cover them with a small piece of foil. Let them cool on the baking sheet for 5 minutes before moving them to a wire rack. They will be very hot and the filling will be molten, so let them settle.
Cooking Tips & Techniques
The biggest mistake people make with hand pies is ignoring the temperature of their ingredients. I learned this the hard way after a summer of sticky, unworkable dough. Keep your butter ice-cold. If it starts to feel soft or greasy, put the bowl back in the fridge for 10 minutes. Cold butter creates steam in the oven, which lifts the layers of the crust.
Another tip is to keep the filling cool. If your kitchen is warm, the butter in the dough might melt from the heat of your hands as you assemble the pies. Work in batches. Roll out one disk, cut and fill it, then put the assembled pies on the baking sheet and back into the fridge for 10 minutes before baking. This re-chills the butter and ensures a shatteringly crisp crust.
Don’t skip the venting step. Pies create steam as the fruit cooks. If you don’t poke holes in the top, the pressure builds up and the pies can burst, leaking caramel all over your oven. A few small slits are enough. Also, be generous with the coarse sugar on top. It adds a crucial textural contrast to the soft filling and makes them look professional.
Variations & Adaptations
These hand pies are incredibly versatile. Here are a few ways to customize them:
- Different Fruits: Swap apples for pears, peaches, or even berries. If using berries, add an extra teaspoon of cornstarch as they release more juice.
- Dairy-Free Option: Use coconut oil or a plant-based butter stick instead of dairy butter. Use a flax egg (1 tbsp ground flaxseed + 3 tbsp water) instead of the egg wash for a vegan version.
- Gluten-Free: Use a 1:1 gluten-free flour blend. Note that GF dough can be more brittle, so handle it gently and consider adding a bit more water if needed.
- Spiced Variation: Add a pinch of nutmeg or cardamom to the filling for a warmer, more aromatic flavor profile.
I once tried making these with pumpkin puree and spices, and while tasty, they were too wet. Stick to firmer fruits for hand pies. The structural integrity of the crust depends on the filling not being too liquidy.
Serving & Storage Suggestions
Serve these hand pies warm, right after they come out of the oven. They pair beautifully with a scoop of vanilla ice cream or a dollop of whipped cream. The contrast of hot, crispy pastry and cold cream is unbeatable. They also go well with a cup of hot coffee or spiced cider.
If you have leftovers, store them in an airtight container at room temperature for up to 2 days. For longer storage, freeze them on a baking sheet until solid, then transfer to a freezer bag. They can be reheated in the oven at 350°F for 10 minutes to restore crispiness. Avoid the microwave, as it will make the crust soggy. The flavors actually meld nicely after a day, making the caramel flavor even more pronounced.
Nutritional Information & Benefits
Each hand pie contains approximately 250-300 calories, depending on the size and amount of caramel used. They provide a good source of carbohydrates for energy and some fiber from the apples. The butter and sugar provide fat and quick energy, making them a perfect treat for an afternoon snack. While not a health food, using real apples adds some vitamins and antioxidants. For a slightly lighter option, you can reduce the sugar in the filling by half, though the caramel will be less sweet.
Conclusion
Making Crispy Salted Caramel Apple Hand Pies is less about following a rigid set of rules and more about enjoying the process. Yes, it takes a little time, but the result is worth every minute. The combination of flaky crust, tart apples, and salty-sweet caramel is something special. I hope you try this recipe and make it your own. Feel free to tweak the spices or the fruit to suit your taste.
I’d love to see your creations. Share your photos on social media and tag me, or leave a comment below with how they turned out. Did you use Granny Smiths or Honeycrisps? Did you make your own caramel? Let’s talk about it. Happy baking!
Frequently Asked Questions
Can I use pre-made pie crust?
Yes, you can use store-bought pie crust to save time, but homemade dough yields a much flakier and more flavorful result. If using store-bought, let it sit at room temperature for 15 minutes before rolling.
Why did my pies leak caramel?
Leakage usually happens if the pies are overfilled or if the edges aren’t sealed properly. Make sure to crimp the edges well and don’t exceed a teaspoon of filling per pie. Also, ensure the vent slits are adequate to release steam.
Can I freeze the unbaked hand pies?
Absolutely. Assemble the pies, place them on a baking sheet, and freeze until solid. Then transfer to a freezer bag. Bake directly from frozen, adding 5-10 minutes to the baking time.
What is the best apple for this recipe?
Granny Smith apples are the best choice because they hold their shape and provide a tart balance to the sweet caramel. Honeycrisp or Fuji apples work too if you prefer a sweeter, softer apple.
How do I store leftover hand pies?
Store them in an airtight container at room temperature for up to 2 days. For longer storage, freeze them. Reheat in the oven to maintain crispiness.
Pin This Recipe!
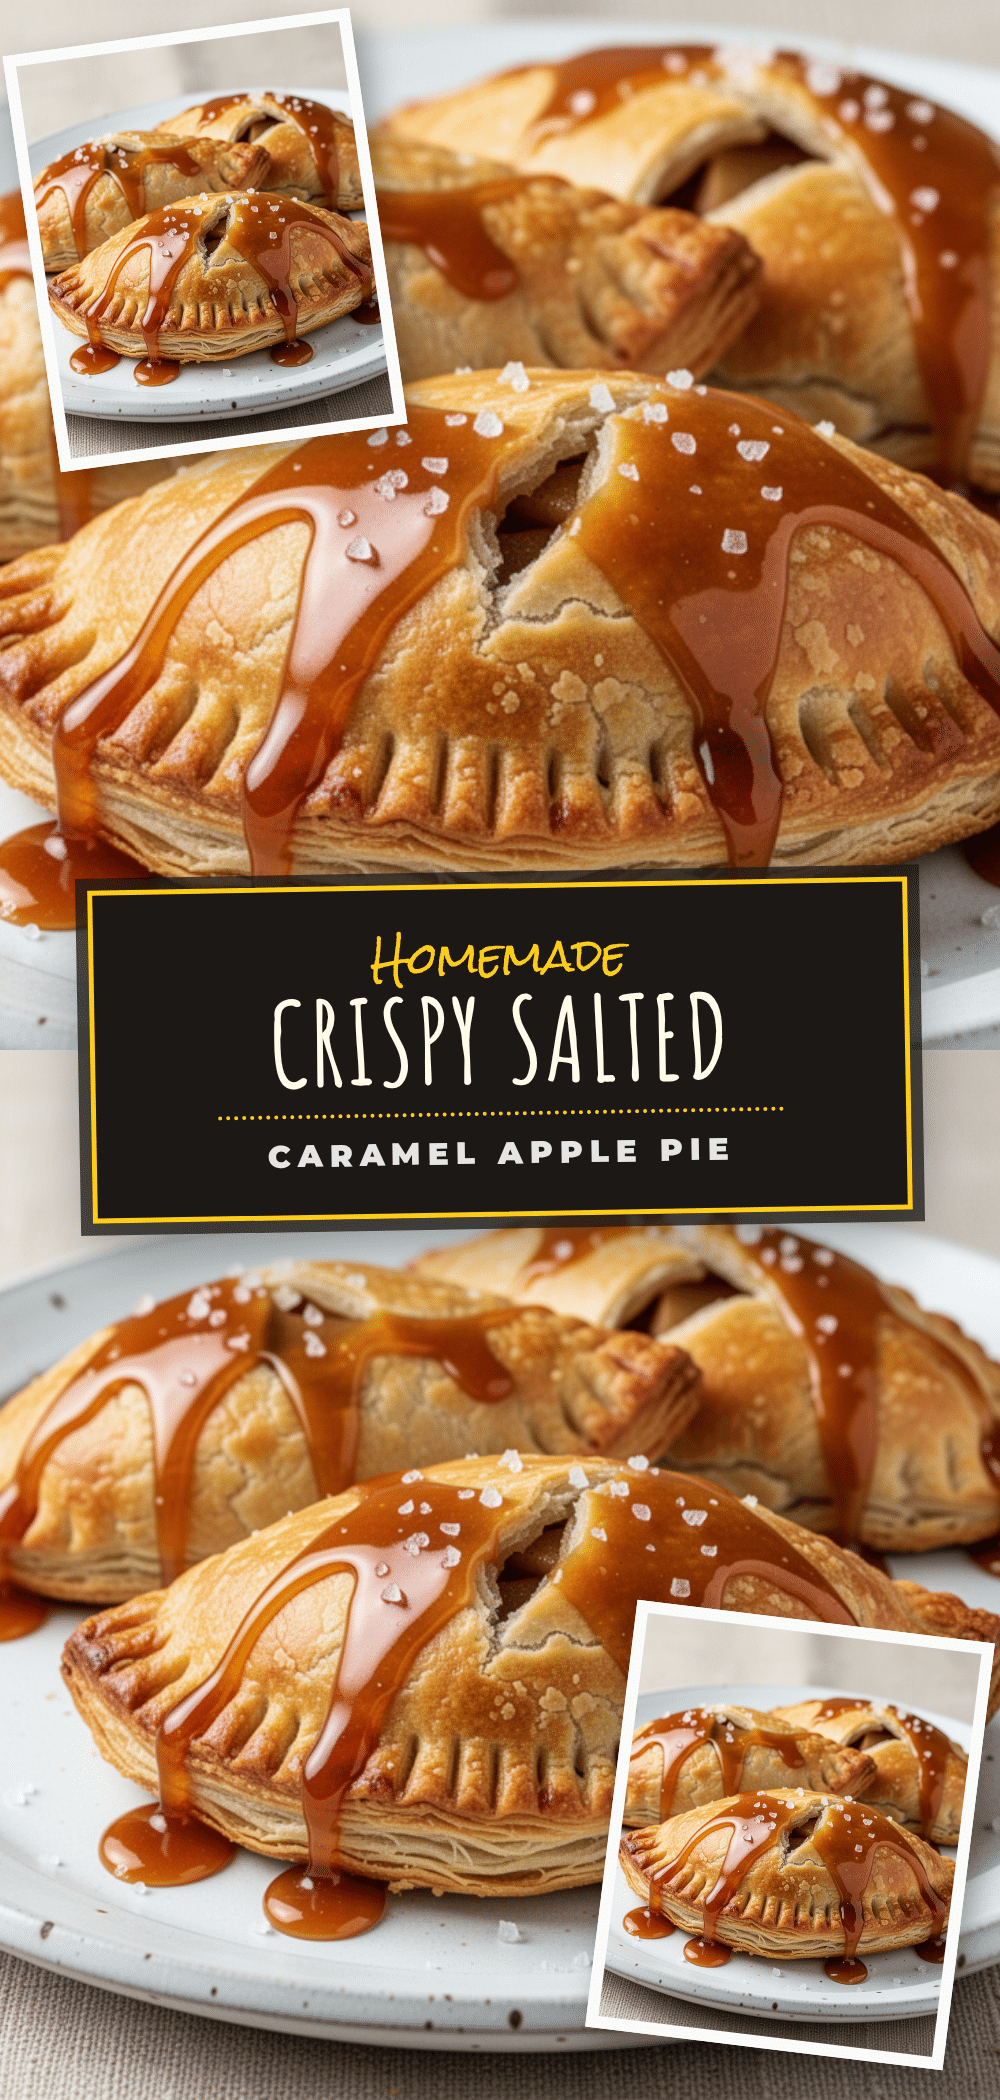
Crispy Salted Caramel Apple Hand Pies

Flaky, handheld apple pies filled with tart apples and rich salted caramel. These easy-to-make desserts offer a perfect balance of sweet and salty flavors with a shattering crust.
- Prep Time: 55 minutes
- Cook Time: 25 minutes
- Total Time: 80 minutes
- Yield: 20-24 hand pies 1x
- Category: Dessert
- Cuisine: American
Ingredients
- 2 cups (250g) All-Purpose Flour
- 1 cup (2 sticks) Unsalted Butter, very cold and cubed
- 2 tablespoons Vegetable Oil
- 6–8 tablespoons Ice Water
- 1 teaspoon Salt
- 1 tablespoon Sugar
- 3 medium Granny Smith Apples, peeled and diced
- 1 cup Homemade or High-Quality Salted Caramel
- 2 tablespoons Brown Sugar
- 1 teaspoon Ground Cinnamon
- 1/4 teaspoon Ground Ginger
- 1 teaspoon Lemon Juice
- 1 tablespoon Cornstarch
- 1 large Egg, beaten with 1 tablespoon water
- 1 tablespoon Coarse or Turbinado Sugar
Instructions
- In a large mixing bowl, combine flour, salt, and sugar. Add cold cubed butter and vegetable oil. Work the butter into the flour using a pastry cutter or fingers until the mixture resembles coarse crumbs with pea-sized butter pieces remaining.
- Gradually add ice water, one tablespoon at a time, mixing gently until the dough just starts to come together but still looks shaggy.
- Divide dough into two equal disks, wrap tightly in plastic wrap, and refrigerate for at least 30 minutes.
- While dough chills, peel and dice apples. In a medium bowl, toss apples with lemon juice, brown sugar, cinnamon, ginger, and cornstarch. Gently fold in the salted caramel.
- Preheat oven to 375°F (190°C) and line a large baking sheet with parchment paper.
- Roll one disk of dough to 1/8 inch thickness on a lightly floured surface. Cut out 4-inch circles (approx. 10-12 per disk).
- Place a teaspoon of apple filling in the center of each circle. Fold dough over to create a half-moon shape. Press edges firmly and crimp with a fork to seal. Poke a small slit in the top of each pie.
- Brush tops with egg wash and sprinkle generously with coarse sugar.
- Bake for 20-25 minutes until crust is deep golden brown. Cover edges with foil if browning too quickly.
- Cool on the baking sheet for 5 minutes before moving to a wire rack.
Notes
Keep butter and water ice-cold to ensure a flaky crust. If the dough gets warm, chill it again before rolling. Do not overfill the pies to prevent leaking. For a vegan version, use plant-based butter and a flax egg. Store leftovers in an airtight container at room temperature for up to 2 days or freeze for longer storage.
Nutrition
- Serving Size: 1 hand pie
- Calories: 275
- Sugar: 22
- Sodium: 180
- Fat: 14
- Saturated Fat: 8
- Carbohydrates: 38
- Fiber: 2
- Protein: 3
Keywords: apple hand pies, salted caramel, fall dessert, easy pie recipe, handheld dessert, autumn baking