I had been looking for a snack that actually tasted like dessert but didn’t leave me crashing an hour later. For a while, I just accepted that energy balls were going to taste like chalky health food, no matter how much honey I added. You know that feeling when you’re rummaging through the pantry at 3 PM? It’s not hunger, exactly. It’s more like a craving for something sweet, salty, and substantial all at once.
My old attempts were a mess. They fell apart in my hands or tasted like dry oats soaked in regret. I tried buying the fancy store-bought versions, but they were too expensive and loaded with stuff I couldn’t pronounce. Honestly, I thought I’d just have to stick to eating cheese cubes until dinner. Then one Tuesday, I found myself staring at a jar of peanut butter and a bag of oats, wondering if there was a middle ground.
I didn’t set out to invent anything. I just wanted something to keep me going through a long workday without the sugar crash. The first batch was lumpy. The second batch was too sticky. But by the third time, something clicked. It wasn’t about following a strict recipe anymore. It was about balance. The moment I rolled that first perfect sphere, I realized this wasn’t just a snack. It was a solution to a problem I didn’t know I had until I solved it.
Now, the jar is always half-empty. It’s quiet satisfaction in a bite-sized package. You don’t need to be a chef to make it. You just need to be hungry and willing to try.
Why You’ll Love This Recipe
Let’s face it, most no-bake snacks are either too sweet or too dry. This version hits that sweet spot I spent years chasing. It’s not just another recipe; it’s the result of testing dozens of ratios until the texture felt right. Here is why these peanut butter energy bites have become a staple in my kitchen.
- Quick & Easy: You can make a whole batch in under 15 minutes. That includes prep time and chilling. It is perfect for busy weeknights or when you need a last-minute treat for a party.
- Simple Ingredients: No fancy grocery trips needed. You likely already have everything in your kitchen right now. Oats, peanut butter, honey, and chocolate chips. That’s it.
- Perfect for On-the-Go: Great for pre-workout fuel, office snacks, or lunchbox additions. They hold their shape well and don’t melt as fast as cookies.
- Crowd-Pleaser: Always gets rave reviews from kids and adults alike. Even the picky eaters who usually turn their noses up at “healthy” snacks will ask for seconds.
- Unbelievably Delicious: The texture is chewy and dense, with salty-sweet notes that keep you coming back. It’s comfort food reimagined—simpler, faster, but with the same soul-soothing satisfaction.
What makes this recipe different is the ratio of wet to dry ingredients. Many recipes make them too crumbly. This one uses just enough binder to hold everything together without feeling gummy. It’s the kind of snack that makes you close your eyes after the first bite. It’s reliable, consistent, and surprisingly indulgent.
What Ingredients You Will Need
This recipe uses simple, wholesome ingredients to deliver bold flavor and satisfying texture without the fuss. The beauty of these energy bites is their flexibility. You can swap things out based on what you have or what you prefer. Here is what you need to get started.
The Base
- Old-Fashioned Rolled Oats: 1.5 cups. Use quick oats if you want a softer texture, but rolled oats give it that chewy bite I prefer. Avoid steel-cut oats; they are too hard.
- Peanut Butter: 1 cup. Creamy works best for binding. Natural peanut butter can separate, so stir it well or use standard brands like Jif or Skippy for consistency. If you need nut-free, sunflower seed butter is a good sub.
The Sweeteners & Binders
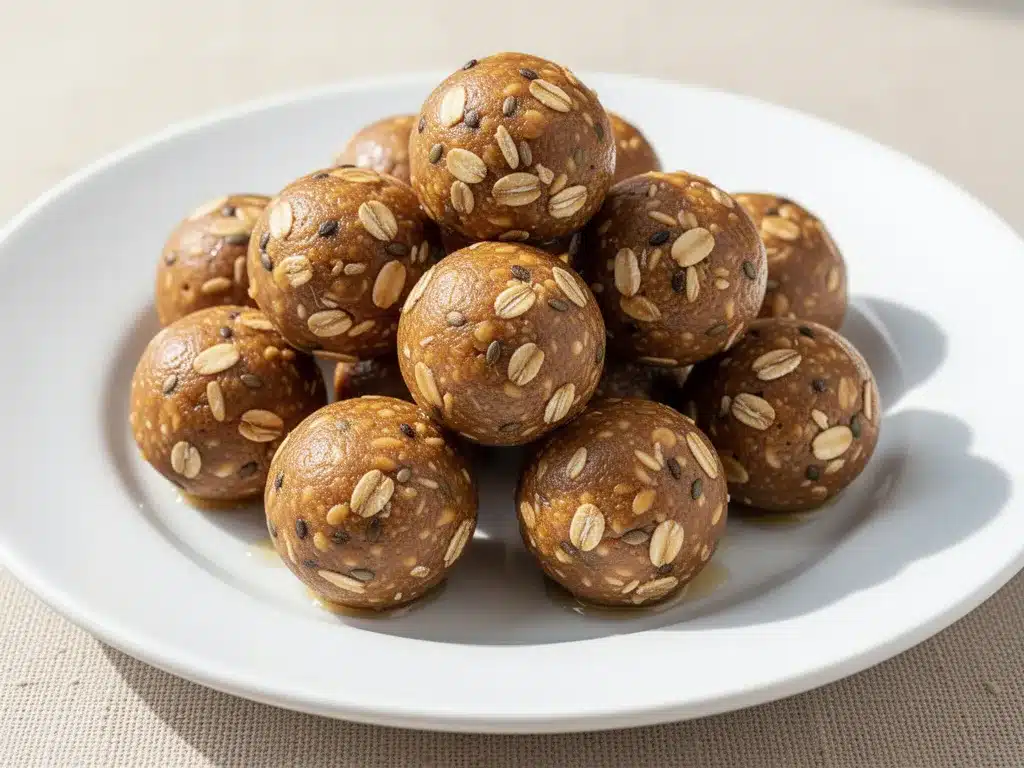
- Raw Honey: 1/3 cup. Honey adds a floral note and helps bind the mixture. Maple syrup works too, but the texture will be slightly softer.
- Ground Flaxseed: 2 tablespoons. This adds fiber and helps hold the ball together. If you don’t have flax, chia seeds work in a pinch.
The Mix-Ins
- Dark Chocolate Chips: 1/2 cup. Semi-sweet or dark chocolate balances the sweetness. You can chop up a chocolate bar if you prefer larger chunks.
- Vanilla Extract: 1 teaspoon. Just a little bit to round out the flavors.
- Salt: 1/4 teaspoon. Essential to cut through the sweetness. Do not skip this.
I usually keep these ingredients on hand because they are pantry staples. If you are feeling fancy, add a splash of espresso powder to enhance the chocolate flavor. For a seasonal twist, try adding crushed peppermint in winter or dried cranberries in the fall.
Equipment Needed
You don’t need much to make these. A large mixing bowl is the most important tool. I prefer a bowl with a wide mouth so it is easy to stir and scrape the sides. A silicone spatula is helpful for getting every bit of sticky peanut butter out of the measuring cups.
For rolling, you don’t need a special tool. Just clean hands work fine. If the mixture is too sticky, wet your hands with a little water before rolling. A baking sheet lined with parchment paper is needed for chilling. You can also use a silicone mat if you want to avoid waste. No fancy gadgets here, just basic kitchen tools.
Preparation Method
- Combine the Dry Ingredients: In your large mixing bowl, add the rolled oats and ground flaxseed. Stir them together with a spoon until evenly distributed. This takes about 30 seconds. Make sure there are no big clumps of flax.
- Add the Wet Ingredients: Pour in the peanut butter, honey, and vanilla extract. Add the salt now too. This step is crucial. Use your spatula to mix everything together. It will look dry at first. Keep stirring. The peanut butter needs to coat every oat.
- Check the Consistency: Stop and look at the mixture. If it is too crumbly and won’t hold together when you squeeze a handful, add another tablespoon of honey or peanut butter. If it is too runny, add a little more oats. You want a sticky, cohesive dough.
- Fold in the Chocolate: Once the base is mixed, fold in the chocolate chips. Use gentle motions so you don’t crush them. You want distinct chunks in every bite.
- Chill the Mixture: Cover the bowl with plastic wrap or a lid. Put it in the refrigerator for at least 30 minutes. This step is non-negotiable. It firms up the peanut butter and makes the oats softer, which makes rolling much easier. If you rush this, the balls will fall apart.
- Roll the Bites: Take a small amount of mixture, about a tablespoon, and roll it between your palms. If it sticks, wet your hands slightly. Roll until smooth. Place them on the parchment-lined baking sheet. Repeat until all the mixture is used. You should get about 20-24 bites.
- Final Set: Put the tray back in the fridge for another 15 minutes to set completely. This ensures they keep their shape when you store them.
How Do I Know When They Are Ready?
After chilling, they should feel firm to the touch but still slightly soft inside. If they are too hard, they might have sat in the fridge too long. If they are too soft, they need more time. Trust your hands.
Cooking Tips & Techniques
One common mistake is using warm peanut butter. If your peanut butter is too warm, the mixture will become greasy. Keep everything at room temperature or slightly cool. Also, don’t skip the chilling step. I’ve learned this the hard way. Rolling warm mixture is a nightmare.
For consistent sizing, use a cookie scoop. It saves time and makes them look professional. If you don’t have one, just eyeball it. They don’t have to be perfect spheres to taste good.
Another tip is to toast the oats lightly in a dry pan before mixing. This brings out a nutty flavor that elevates the whole snack. It only takes a few minutes, and you can smell it popping. It adds a layer of complexity that raw oats lack.
Variations & Adaptations
These bites are a blank canvas. Here are a few ways to change them up.
- Protein Boost: Add a scoop of vanilla protein powder. You may need to add a splash of milk if it gets too dry.
- Trail Mix Style: Swap chocolate chips for chopped nuts, dried apricots, or coconut flakes. This adds crunch and chewiness.
- Chocolate Peanut Butter: Dip the finished bites in melted chocolate. Let them set on parchment paper. This turns a snack into a dessert.
- Gluten-Free: Ensure your oats are certified gluten-free. Most other ingredients are naturally GF, but cross-contamination is real with oats.
I once made a batch with almond butter and dried cherries. It was amazing. The tartness of the cherries cut through the rich nut butter. It’s worth trying if you want something different.
Serving & Storage Suggestions
Store these in an airtight container in the refrigerator for up to two weeks. They also freeze well for up to three months. I usually keep a batch in the freezer for those days when I’m too tired to cook.
Serve them as a pre-workout snack for quick energy. They pair well with black coffee or green tea. For presentation, arrange them on a platter with some fresh fruit. The contrast of colors looks great for Pinterest photos. White background, bright chocolate chips, and golden oats. It’s simple but effective.
Nutritional Information & Benefits
Each bite contains roughly 120 calories. They are a good source of healthy fats from the peanut butter and fiber from the oats. This combination helps keep you full for longer. They are not low-calorie, but they are nutrient-dense.
They are naturally gluten-free if you use GF oats. They are vegan if you use maple syrup instead of honey. Be aware of nut allergies. Peanut butter is a common allergen, so label your batch clearly if sharing. I find these help me avoid the afternoon slump. The steady release of energy is better than a candy bar.
Conclusion
These no-bake peanut butter energy bites are simple, tasty, and incredibly easy to make. They solve the problem of finding a healthy snack that actually tastes good. I love them because they require minimal effort but deliver maximum satisfaction. Whether you are a busy parent, a student, or just someone who loves peanut butter, this recipe is for you.
Try making a batch this weekend. Customize it with your favorite mix-ins. I’d love to hear how you tweak the recipe. Leave a comment below with your favorite variation. Share your photos on social media and tag me. I always enjoy seeing what you create. Happy snacking!
FAQs
Can I use quick oats instead of rolled oats?
Yes, but the texture will be softer and less chewy. Rolled oats provide a better bite.
Why are my energy bites too sticky?
You probably need more oats or less wet ingredients. Add a tablespoon of oats at a time until it firms up.
How long do they last in the fridge?
They last up to two weeks in an airtight container. After that, they might dry out.
Can I freeze them?
Absolutely. Freeze them in a single layer, then transfer to a bag. They last up to three months.
What can I substitute for honey?
Maple syrup or agave nectar work well. Just note that the texture might be slightly softer.
Pin This Recipe!
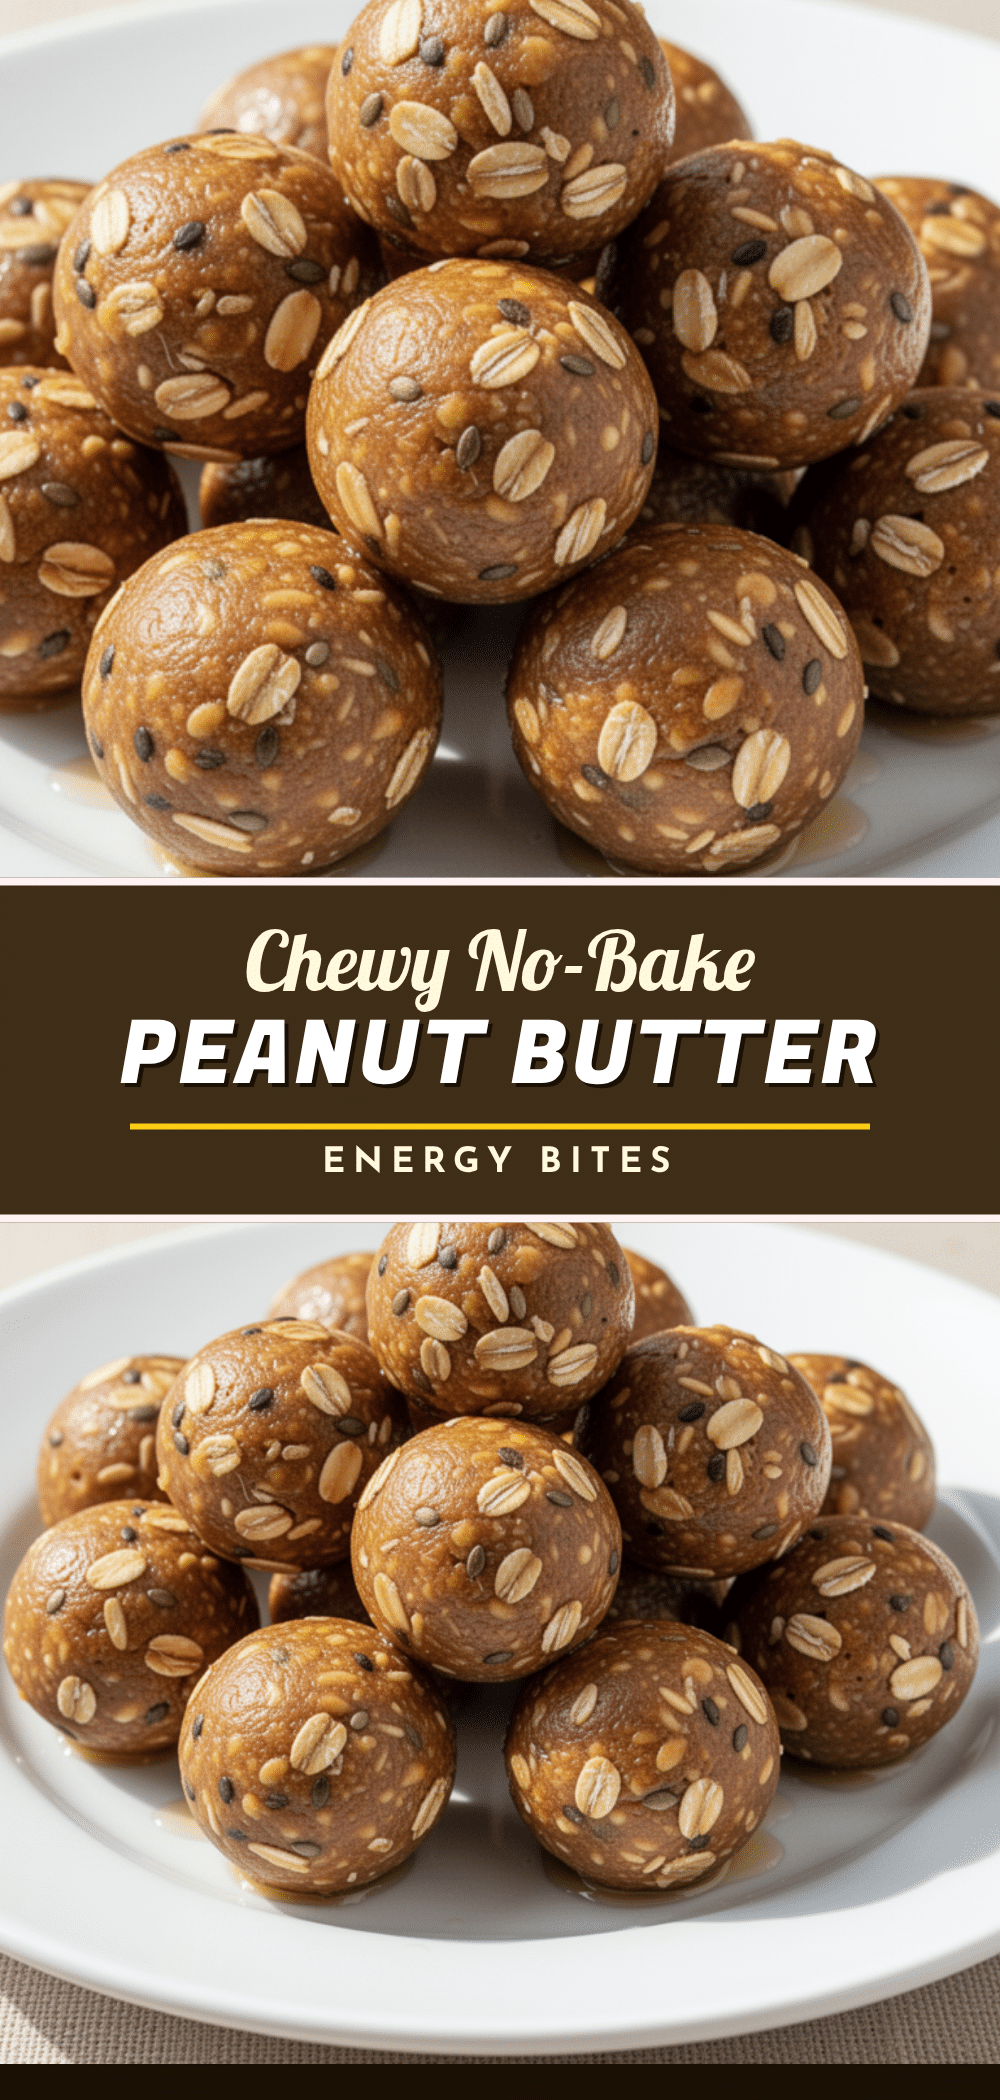
Simple No-Bake Peanut Butter Energy Bites: 5-Minute Healthy Snack
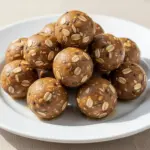
A quick, no-bake snack made with pantry staples like oats, peanut butter, and honey. These energy bites are chewy, satisfying, and perfect for on-the-go fuel without the sugar crash.
- Prep Time: 15 minutes
- Cook Time: 0 minutes
- Total Time: 45 minutes
- Yield: 20-24 servings 1x
- Category: Snack
- Cuisine: American
Ingredients
- 1.5 cups Old-Fashioned Rolled Oats
- 1 cup Peanut Butter (creamy)
- 1/3 cup Raw Honey
- 2 tablespoons Ground Flaxseed
- 1/2 cup Dark Chocolate Chips
- 1 teaspoon Vanilla Extract
- 1/4 teaspoon Salt
Instructions
- In a large mixing bowl, combine the rolled oats and ground flaxseed, stirring until evenly distributed.
- Add the peanut butter, honey, vanilla extract, and salt to the bowl. Mix thoroughly with a spatula until the peanut butter coats every oat.
- Check the consistency; if too crumbly, add more honey or peanut butter. If too runny, add more oats. The mixture should be a sticky, cohesive dough.
- Fold in the chocolate chips gently to keep them in distinct chunks.
- Cover the bowl and refrigerate for at least 30 minutes to firm up the mixture.
- Roll the mixture into balls, using about a tablespoon of mixture per ball. If sticky, wet hands slightly with water. Place on a parchment-lined baking sheet.
- Refrigerate the tray for another 15 minutes to set completely before storing.
Notes
Use creamy peanut butter for best binding. Natural peanut butter may separate, so stir well. Toasting oats lightly in a dry pan before mixing adds a nutty flavor. Ensure oats are certified gluten-free if needed. Store in an airtight container in the fridge for up to two weeks or freeze for up to three months.
Nutrition
- Serving Size: 1 energy bite
- Calories: 120
- Sugar: 9
- Sodium: 50
- Fat: 6
- Saturated Fat: 2
- Carbohydrates: 15
- Fiber: 2
- Protein: 4
Keywords: no-bake, peanut butter, energy bites, healthy snack, gluten-free, vegan option, quick snack, oatmeal cookies