I burned three pounds of bacon before I figured out why my sliders tasted like charcoal instead of comfort food. It was a Tuesday night, and I was trying to prep for a last-minute Super Bowl watch party that I hadn’t planned for. You know how it goes when the fridge is staring at you with empty shelves and the clock is ticking down. I grabbed every strip of thick-cut bacon I could find and threw them into a cold pan, assuming the old trick would work. It didn’t. It just smoked up the entire apartment and left me with crispy, bitter shards that had nothing to do with juicy cheeseburger sliders.
Let’s face it, most people think cooking bacon is simple. It’s not. Not when you’re trying to make crispy bacon cheeseburger sliders that actually hold together. I spent the next week experimenting with oven temperatures, rack positions, and even a sous-vide method that was completely overkill. I wanted that perfect snap, the kind that doesn’t shatter into dust when you bite into a warm, melty slider bun. I wanted the fat rendered just enough to baste the tiny beef patties, but not so much that the whole thing became a grease trap.
The breakthrough happened when I stopped treating the bacon like a side dish and started treating it like the foundation. I realized that the secret wasn’t just in the cooking method, but in the assembly order. I needed a layer of sharp cheddar directly against the hot patty, then the bacon, then the bun, toasted in butter. It sounds obvious now, but it took me four failed batches to learn it. The first batch was soggy. The second was dry. The third was just okay. The fourth one? That was the one my friends scraped off their plates.
Now, these sliders are my go-to. They are small enough to eat with one hand while holding a drink, but substantial enough to count as a meal if you’re really hungry. I’ve made them for game days, for office potlucks, and even for lazy Sunday brunches. They always disappear fast. Honestly, I keep a mental tally of how many I make versus how many are gone. Usually, I need to double the recipe. There is something deeply satisfying about pulling a hot, gooey tray out of the oven and watching people grab them before they’ve even cooled down. It’s the ultimate crowd-pleaser, and it’s finally one I’ve mastered.
Why You’ll Love This Recipe
There is a specific kind of magic that happens when you combine the smoky crunch of bacon with the savory richness of a mini burger. These aren’t just tiny sandwiches; they are flavor bombs designed for maximum satisfaction with minimum effort. After testing dozens of variations, I’ve found that the key to making these truly stand out is balancing the textures. You want the bun to be soft but sturdy, the meat to be juicy but not falling apart, and the bacon to provide that essential snap.
- Quick & Easy: These come together in under 20 minutes from start to finish. If you use pre-cooked bacon or a quick-cook method, you can have them on the table before the appetizer course is even finished. It’s perfect for busy weeknights or those sudden cravings that hit right before guests arrive.
- Simple Ingredients: You likely already have everything you need in your kitchen. Ground beef, slider buns, cheddar cheese, bacon, and a few pantry staples like ketchup and mustard. No fancy grocery trips needed, which means you can whip this up on a whim without breaking the bank.
- Perfect for Parties: These are the ultimate finger food. They are small enough to eat in two or three bites, making them ideal for standing around, mingling, or watching the game. They don’t require plates or forks, which reduces cleanup stress significantly.
- Crowd-Pleaser: I’ve served these to picky eaters, carnivores, and health-conscious friends (who still sneak a few). They always get rave reviews because everyone loves the classic burger flavor in a more manageable format.
- Unbelievably Delicious: The combination of melted cheese, savory beef, and salty bacon creates a next-level comfort food experience. It’s rich, salty, and deeply satisfying in a way that light snacks just can’t match.
What makes this recipe different from the rest is the attention to detail in the assembly. Many recipes just pile ingredients on a bun and call it a day. Here, we toast the buns in butter first to create a barrier against the juices. We season the tiny patties heavily to ensure every bite has flavor. And we use a specific layering technique that keeps the bacon crisp even after baking. It’s not just another version; it’s the best version because it solves the common problems of soggy buns and cold bacon.
This recipe isn’t just good—it is the kind that makes you close your eyes after the first bite. It’s comfort food reimagined for the modern, busy cook. Perfect for impressing guests without stress, or turning a simple meal into something memorable. You’ll find yourself making these again and again because they deliver that big burger taste in a bite-sized package.
What Ingredients You Will Need
This recipe uses simple, wholesome ingredients to deliver bold flavor and satisfying texture without the fuss. The beauty of sliders lies in their simplicity, but the quality of each component matters more than you might think. Since the portions are small, you can’t hide poor-quality ingredients. We are going for a balance of salty, savory, and slightly sweet, with a nice contrast in textures.
- Ground Beef (80/20 blend): You need about 1.5 pounds of ground beef. The 80/20 ratio is crucial here. Leaner beef will dry out the tiny patties quickly. You want that fat content to keep them juicy and flavorful. Look for fresh, bright red beef from your local butcher or a high-quality grocery store brand.
- Slider Buns: Use one package of Hawaiian sweet rolls or potato slider buns. Sweet rolls add a nice contrast to the salty bacon and beef, while potato buns offer a softer, more traditional burger feel. Avoid buns that are too large; you want them to be bite-sized. King’s Hawaiian is a trusted brand I personally prefer for their consistent sweetness and soft texture.
- Bacon: You will need about 12-15 strips of thick-cut bacon. Thick-cut is essential because it holds up better during the baking process and provides that necessary crunch. Thin bacon tends to burn or become too brittle. I recommend choosing a brand with a good meat-to-fat ratio so you get plenty of flavor without excessive grease.
- Cheddar Cheese: Shred your own block of sharp cheddar cheese. Pre-shredded cheese contains anti-caking agents that prevent it from melting smoothly. You want that gooey, stretchy cheese pull. Sharp cheddar provides a stronger flavor profile that stands up to the beef and bacon.
- Butter: Melted unsalted butter for brushing the buns. This helps them brown evenly and adds a rich flavor. It also creates a slight seal that prevents the bun from getting soggy too quickly.
- Slider Seasoning: Salt, black pepper, garlic powder, and onion powder. These are the basics, but don’t skimp on the seasoning. The meat needs to be well-seasoned since the patties are small and cook fast.
- Condiments: Ketchup, yellow mustard, and pickle relish. These are optional but highly recommended for that classic cheeseburger flavor. You can also use a special sauce or BBQ sauce if you prefer a different profile.
- Optional Add-ins: Thinly sliced red onion, tomato slices, or crispy fried onions. If you like extra crunch or freshness, these add a nice variation. However, keep them thin so the slider doesn’t fall apart.
If you are looking to substitute ingredients, you can use ground turkey or chicken for a lighter option, though you will need to add a bit more moisture, perhaps with a little olive oil or grated zucchini. For a gluten-free version, use gluten-free slider buns and ensure your bacon and cheese are certified gluten-free. In the summer, you might swap the cheddar for pepper jack to add a little heat, which pairs wonderfully with the sweet rolls.
Equipment Needed
You don’t need a lot of fancy gear to make these, but having the right tools makes the process much smoother. A large baking sheet is essential. I recommend using a half-sheet pan (18×13 inches) because it gives you enough room to arrange the sliders without crowding them. Crowding leads to steaming instead of baking, which can make the buns soggy.
A large skillet or cast-iron pan is needed for cooking the bacon and the beef patties. Cast iron is my favorite because it retains heat well and gives the meat a nice sear. If you don’t have cast iron, a non-stick skillet works fine. Just make sure it’s large enough to cook the patties in batches without overcrowding.
A pastry brush is helpful for applying the melted butter to the buns. It allows for even coverage without using too much butter. A small whisk is useful for mixing the seasoning blend. And, of course, a pair of tongs for flipping the meat and moving the bacon around. These are basic tools, but they make a big difference in efficiency.
If you prefer to cook the bacon in the oven to save stove space, you’ll need a wire rack placed over a baking sheet. This allows the fat to drip away and the bacon to cook evenly on all sides. It’s a bit more setup, but the results are consistently better. For budget-friendly options, standard baking sheets and basic stainless steel pans work perfectly fine. You don’t need to invest in expensive equipment to make great sliders.
How to Make Crispy Bacon Cheeseburger Sliders
- Preheat and Prep: Start by preheating your oven to 375°F (190°C). Line a large baking sheet with parchment paper or aluminum foil for easy cleanup. This step is crucial because the butter and cheese can burn and stick to the pan. Take your slider buns and slice them in half horizontally, keeping the bottom layer intact. Place them cut-side up on the prepared baking sheet.
- Cook the Bacon: While the oven heats, cook the bacon. You can do this in a skillet or the oven. If using a skillet, place the bacon in a cold pan and turn the heat to medium. Cook for 4-5 minutes per side until crispy but still pliable. If you cook it too hard, it will crumble when you wrap it around the slider. Drain the bacon on paper towels, but reserve the bacon grease. If using the oven, place bacon on a wire rack over a baking sheet and bake at 400°F for 15-20 minutes, flipping halfway. Let it cool slightly.
- Form the Patties: Divide the ground beef into 12-15 equal portions, about 2-3 ounces each. Gently form each portion into a small patty. Do not overwork the meat, or the patties will become tough. Make a slight indentation in the center of each patty with your thumb. This prevents them from puffing up into balls while cooking. Season both sides generously with salt, pepper, garlic powder, and onion powder.
- Sear the Patties: Heat a large skillet over medium-high heat. Add a tablespoon of the reserved bacon grease or a neutral oil. Once hot, add the patties in batches. Cook for 1-2 minutes per side. You don’t need to cook them all the way through since they will finish in the oven. You just want a nice brown crust. Remove them from the pan and set aside.
- Butter the Buns: Melt 4 tablespoons of unsalted butter in a small bowl or microwave. Using a pastry brush, generously brush the cut sides of the slider buns with the melted butter. This is the secret to golden, toasted buns. The butter should cover the entire surface.
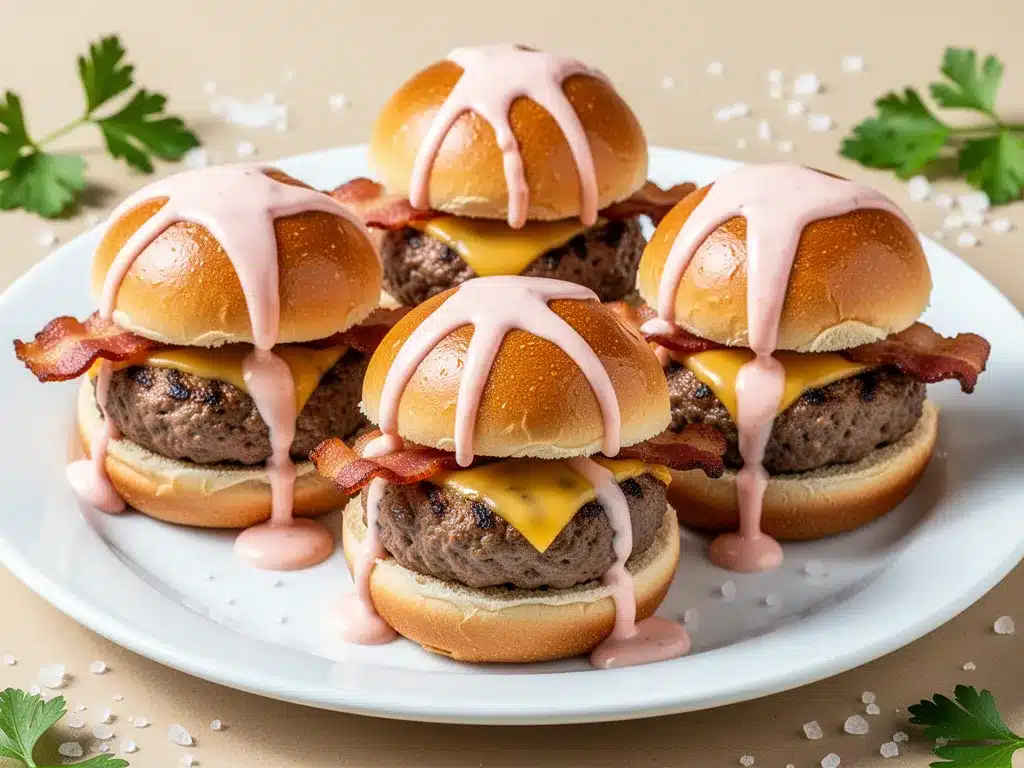
- Assemble the Sliders: This is the most important step. Place a cooked patty on the bottom half of each bun. Top with a slice of sharp cheddar cheese. Then, take a strip of bacon and wrap it around the patty and cheese, tucking the ends in. The bacon acts as a bandage to hold everything together. If you are using condiments like ketchup or mustard, add a small dab now. Top with the top half of the bun.
- Bake: Place the assembled sliders back on the baking sheet, seam-side up. Bake in the preheated oven for 8-10 minutes. You want the cheese to be fully melted and the buns to be golden brown and crispy on the bottom. Keep an eye on them after 6 minutes to prevent burning.
- Finish and Serve: Remove the tray from the oven. Let them cool for 2-3 minutes. This allows the cheese to set slightly so the sliders don’t fall apart when you pick them up. Serve warm with extra condiments on the side for dipping or spreading.
During the searing step, if you notice the patties are releasing too much liquid, drain it off. Excess grease can make the buns soggy. Also, when wrapping the bacon, try to keep it tight but not so tight that it squeezes the juices out of the meat. It’s a balance. If the bacon is too short, you can use two smaller strips. The goal is to cover the cheese and beef completely.
Cooking Tips & Techniques
Getting the bacon texture right is the biggest challenge with this recipe. Many people overcook it in the skillet, leaving it brittle. The trick is to remove the bacon when it is still slightly flexible. It will continue to crisp up as it cools and as it bakes with the slider. If you wait until it is rock hard in the pan, it will crumble into pieces when you try to wrap it around the patty. This is a mistake I made early on, and it resulted in a mess of bacon bits instead of a neat slider.
Another common mistake is overcrowding the skillet when searing the patties. If you put too many patties in at once, the temperature of the pan drops, and the meat steams instead of searing. You want that Maillard reaction, the browning that creates flavor. Cook in batches if necessary. It takes an extra few minutes, but the difference in taste is worth it. Also, pat the patties dry with a paper towel before seasoning. Excess moisture prevents browning.
Timing is everything. Since these cook so quickly, have all your ingredients prepped and within reach before you start cooking the meat. This is called *mise en place*, and it’s a professional kitchen standard for a reason. You don’t want to be reaching for the ketchup while the bacon is sizzling in the pan. Set out your bowls of cheese, your seasoned buns, and your cooked bacon strips before you touch the beef.
For consistency, use a kitchen scale to portion the ground beef. This ensures that every slider is the same size and cooks evenly. If one patty is much larger, it will take longer to cook, and you might end up with some raw and some overcooked sliders. Uniformity leads to a better final product. Also, let the ground beef come to room temperature for about 10 minutes before forming patties. Cold meat cooks unevenly.
Finally, don’t skip the buttering step. It seems minor, but it transforms the buns from plain bread to toasted, flavorful vessels. The butter adds richness and helps the buns hold up to the juicy meat and cheese. If you are lactose intolerant, you can use a dairy-free butter alternative, but the flavor won’t be quite as rich. It’s still good, but the real butter makes a noticeable difference.
Variations & Adaptations
While the classic bacon cheeseburger slider is a winner, there are many ways to tweak this recipe to suit different tastes or dietary needs. One popular variation is the BBQ Bacon Slider. Instead of ketchup and mustard, use a smoky BBQ sauce. Add a slice of white onion to the patty before baking. The onions caramelize slightly in the oven and add a sweet, savory depth that pairs perfectly with the BBQ sauce.
For a spicy kick, try adding jalapeños. Place a slice of pickled jalapeño on the patty before adding the cheese. You can also mix diced jalapeños into the ground beef before forming the patties. This variation is great for those who like a bit of heat with their comfort food. Pair it with a chipotle mayo for an extra smoky flavor.
If you are looking for a lighter option, you can substitute the ground beef with ground turkey or chicken. However, lean poultry can dry out quickly. To counter this, mix in a tablespoon of olive oil or grated zucchini into the meat before forming patties. You will also need to cook the poultry thoroughly, so bake the sliders for an additional 2-3 minutes to ensure they reach a safe internal temperature. The bacon still adds plenty of flavor, so it won’t feel like you’re missing out.
For a vegetarian version, use plant-based ground beef alternatives or portobello mushroom caps sliced thin. Portobello mushrooms have a meaty texture and umami flavor that works well with the bacon and cheese. Just be aware that mushrooms release more water, so you may need to sauté them separately to remove excess moisture before assembling. This variation is surprisingly satisfying and holds up well to the other flavors.
I once tried using pork belly instead of bacon for a richer, fattier slider. It was delicious but very heavy. I found that mixing half bacon and half pork belly was the sweet spot. It gave me the crunch of bacon with the richness of pork belly. It’s a indulgent variation that is best saved for special occasions or when you really want to treat yourself. Just be mindful of the portion size, as these can be quite rich.
Serving & Storage Suggestions
These sliders are best served warm, right out of the oven. The cheese should be fully melted and the buns slightly crispy. Arrange them on a platter with extra condiments on the side. I like to serve them with a simple side salad or some crispy oven-baked fries. The contrast between the rich, heavy sliders and a fresh, crisp side helps balance the meal. They also pair well with a cold beer or a creamy milkshake.
For storage, let the sliders cool completely before refrigerating. Store them in an airtight container in the refrigerator for up to 3 days. The buns may soften over time, so it’s best to reheat them to restore the texture. To reheat, place the sliders on a baking sheet and warm them in a 350°F oven for 5-7 minutes. This revives the crispness of the bun and the crunch of the bacon. Avoid using the microwave, as it will make the buns soggy and the bacon chewy.
If you have leftover cooked bacon, you can store it separately in the fridge for up to 5 days. Reheat it in the oven or a skillet to regain crispness. You can also freeze the assembled, uncooked sliders. Place them on a baking sheet and freeze until solid, then transfer to a freezer bag. They will keep for up to 2 months. When ready to eat, bake them directly from frozen, adding a few extra minutes to the cooking time.
Flavors tend to meld and deepen over time, so these sliders actually taste better the next day if you make them ahead. The bacon fat permeates the bun and the meat, creating a more cohesive flavor. However, the texture of the bacon may soften slightly. If you prefer maximum crunch, serve them fresh. If you prefer maximum flavor integration, let them sit overnight in the fridge before reheating.
Nutritional Information & Benefits
While these sliders are definitely a comfort food treat, understanding their nutritional profile can help you enjoy them mindfully. Each slider contains approximately 250-300 calories, depending on the size of the patty and the amount of cheese used. They are high in protein from the beef and bacon, which helps keep you feeling full. The cheese provides calcium and additional protein.
However, they are also high in saturated fat and sodium due to the bacon, cheese, and processed meat. It’s best to enjoy these as an occasional indulgence rather than a daily staple. If you are watching your sodium intake, look for low-sodium bacon and reduce the added salt in the seasoning. For those monitoring fat intake, using leaner beef and less cheese can help, though it may affect the flavor and texture.
One benefit of sliders is portion control. Because they are small, it’s easier to manage how many you eat compared to a full-sized burger. You can have two or three and feel satisfied without overeating. They are also a good source of iron and zinc from the beef, which are important for immune function and energy levels. Just be mindful of the overall meal balance.
From a wellness perspective, I find that making these at home allows me to control the quality of the ingredients. I can choose grass-fed beef or organic bacon, which may have better fatty acid profiles. Homemade sliders also avoid the preservatives and additives often found in fast-food versions. It’s a way to enjoy a classic favorite while making slightly healthier choices.
Conclusion
Making crispy bacon cheeseburger sliders is easier than you think, and the results are absolutely worth the effort. These little bites of joy are perfect for any occasion, from casual weeknight dinners to big party gatherings. The combination of savory beef, salty bacon, and melty cheese in a sweet, toasted bun is a flavor profile that never fails to impress. I hope this recipe becomes a staple in your home, just as it has in mine.
Don’t be afraid to experiment with the variations I shared. Try adding different cheeses, sauces, or toppings to make them your own. Cooking is about creativity and personal preference, so find what works best for you and your family. Whether you stick to the classic recipe or add your own twist, these sliders are sure to be a hit.
I love making these because they bring people together. There is something special about sharing food, especially when it’s this delicious. I encourage you to try this recipe and let me know how it turns out. Leave a comment below with your thoughts, or share a photo of your creation. I love seeing how others adapt the recipe to their tastes. Happy cooking!
Frequently Asked Questions
Can I make these sliders ahead of time?
Yes, you can assemble the sliders and refrigerate them for up to 24 hours before baking. Just cover them tightly with plastic wrap. When you’re ready to serve, you may need to add a couple of extra minutes to the baking time since they will be cold from the fridge. This is great for party prep.
How do I keep the bacon crispy?
The key is to cook the bacon until it is just starting to crisp but still slightly flexible. It will finish cooking in the oven. Also, avoid wrapping it too tightly around the patty, which can trap steam and soften the bacon. Letting the sliders cool for a few minutes after baking also helps the bacon regain some crispness.
Can I use pre-cooked bacon?
You can, but it might be harder to wrap around the patty since it’s already brittle. If you use pre-cooked bacon, you can break it into pieces and sprinkle it on top of the cheese instead of wrapping it. This is a quicker option, though you lose the visual appeal of the wrapped bacon.
What is the best type of bun to use?
Hawaiian sweet rolls are my top choice because their sweetness balances the salty bacon and beef. Potato buns are also a great option for a softer, more traditional texture. Avoid buns that are too dense or dry, as they won’t hold up well to the juicy fillings.
How do I store leftovers?
Store leftovers in an airtight container in the refrigerator for up to 3 days. Reheat them in the oven at 350°F for 5-7 minutes to restore the texture. Avoid the microwave, as it will make the buns soggy. You can also freeze them for longer storage, but the texture may change slightly upon thawing.
Pin This Recipe!
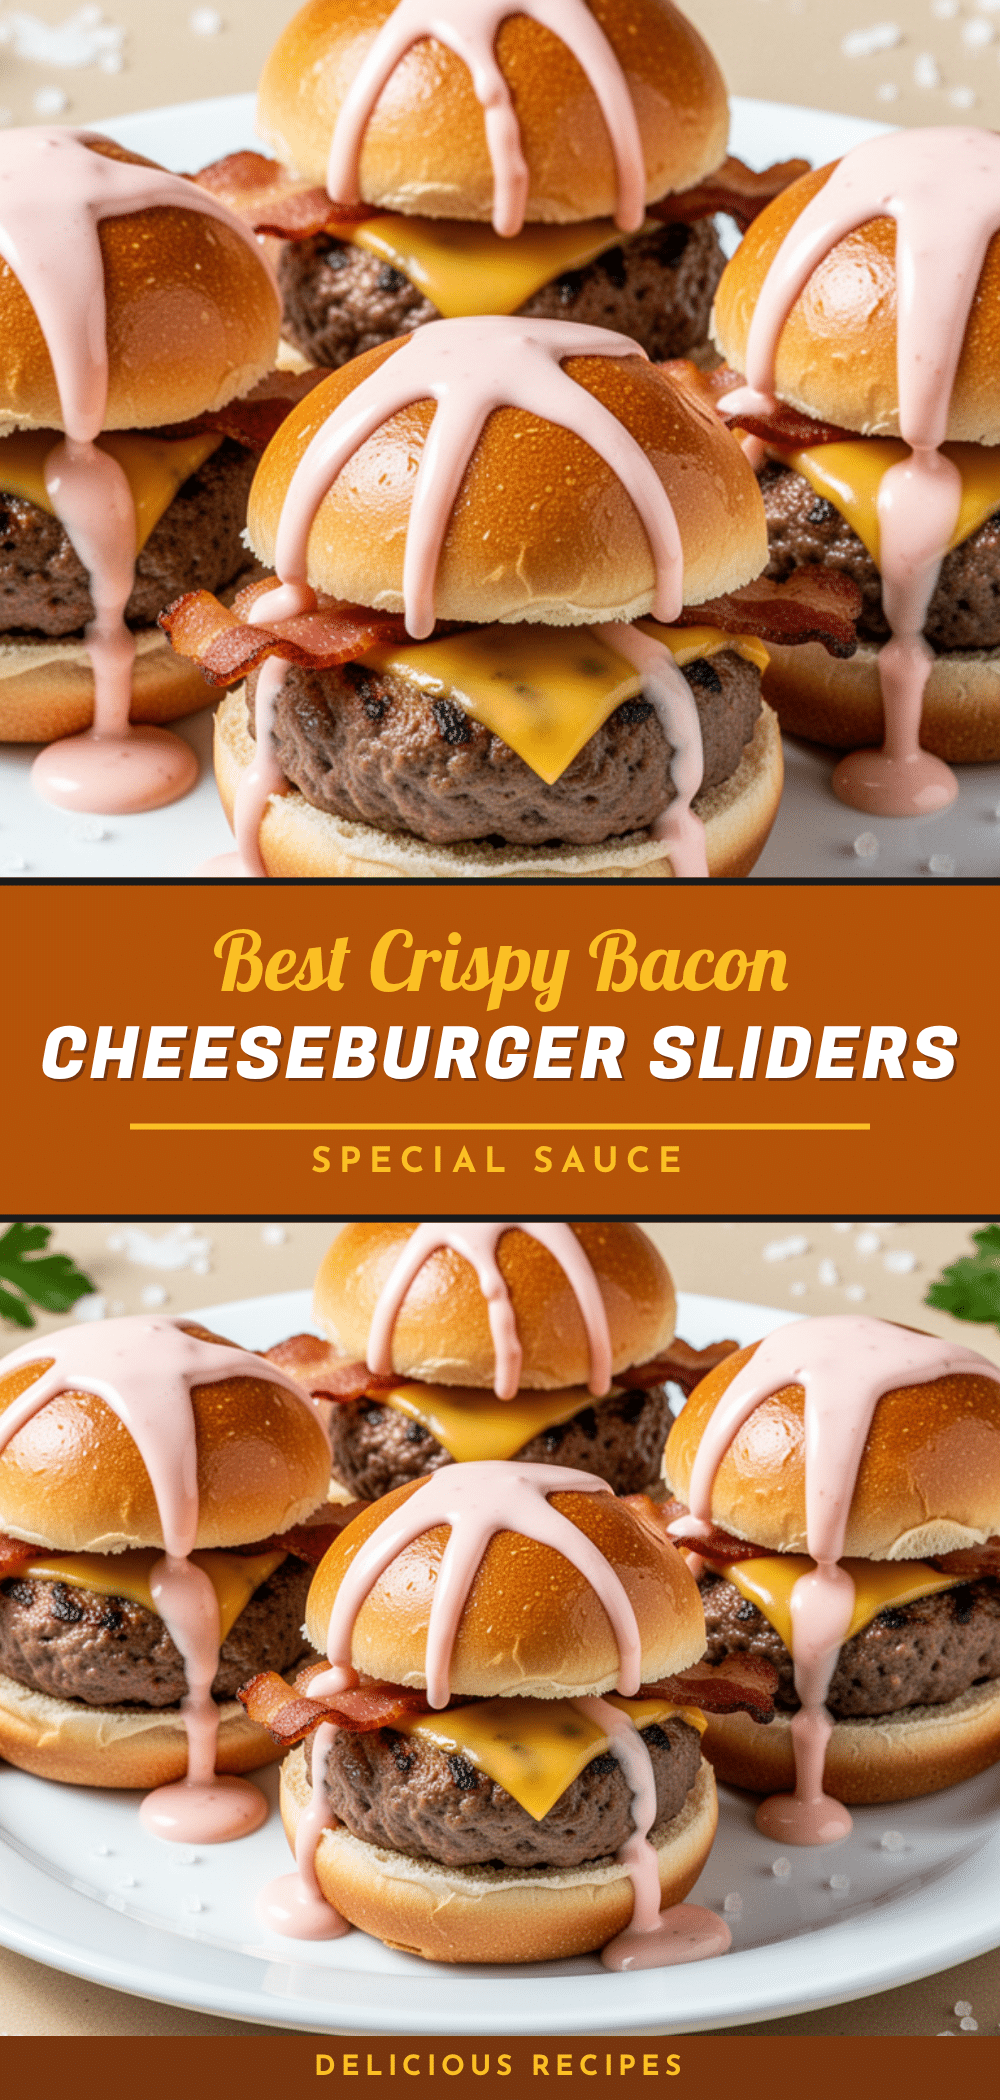
Best Crispy Bacon Cheeseburger Sliders

These crispy bacon cheeseburger sliders are a 15-minute easy party appetizer featuring juicy mini beef patties, sharp cheddar, and thick-cut bacon wrapped in sweet slider buns.
- Prep Time: 15 minutes
- Cook Time: 15 minutes
- Total Time: 30 minutes
- Yield: 12-15 servings 1x
- Category: Appetizer
- Cuisine: American
Ingredients
- 1.5 pounds ground beef (80/20 blend)
- 1 package Hawaiian sweet rolls or potato slider buns
- 12–15 strips thick-cut bacon
- 1 block sharp cheddar cheese (shredded)
- 4 tablespoons unsalted butter (melted)
- Salt
- Black pepper
- Garlic powder
- Onion powder
- Ketchup (optional)
- Yellow mustard (optional)
- Pickle relish (optional)
Instructions
- Preheat oven to 375°F (190°C). Line a large baking sheet with parchment paper or foil.
- Slice slider buns in half horizontally, keeping the bottom layer intact. Place cut-side up on the baking sheet.
- Cook bacon in a skillet over medium heat for 4-5 minutes per side until crispy but pliable, or bake on a wire rack at 400°F for 15-20 minutes. Drain on paper towels, reserving grease.
- Divide ground beef into 12-15 equal portions (2-3 oz each). Form into small patties, making an indentation in the center. Season generously with salt, pepper, garlic powder, and onion powder.
- Heat a skillet over medium-high heat with reserved bacon grease or oil. Sear patties for 1-2 minutes per side until browned but not fully cooked through. Remove and set aside.
- Brush the cut sides of the slider buns generously with melted butter.
- Assemble sliders: Place a patty on the bottom bun half, top with cheddar cheese, then wrap a strip of bacon around the patty and cheese, tucking ends in. Add condiments if desired. Top with the bun half.
- Place assembled sliders seam-side up on the baking sheet.
- Bake for 8-10 minutes until cheese is melted and buns are golden brown.
- Let cool for 2-3 minutes before serving to allow cheese to set.
Notes
Cook bacon until slightly flexible to prevent crumbling when wrapping. Do not overcrowd the skillet when searing patties to ensure proper browning. Let sliders cool for a few minutes after baking to prevent falling apart.
Nutrition
- Serving Size: 1 slider
- Calories: 275
- Sugar: 4
- Sodium: 650
- Fat: 18
- Saturated Fat: 8
- Carbohydrates: 15
- Fiber: 0.5
- Protein: 14
Keywords: bacon cheeseburger sliders, party appetizer, easy recipes, game day food, beef sliders, crispy bacon, comfort food