I did not trust oats in cookies. Honestly, I thought the combination of chewy grains and dried fruit sounded like a mistake until I bit into my grandmother’s latest batch. For years, I stuck to chocolate chip. It was safe. It was sweet. It didn’t require me to chew through a texture that felt like cardboard. My friends knew this. They would bring over boxes of chocolate chip and watch me pick out the chips with a little smirk. They thought I was being difficult. Let’s face it, I was being difficult. I had been burned before by dry, crumbly cookies that tasted more like breakfast cereal than dessert.
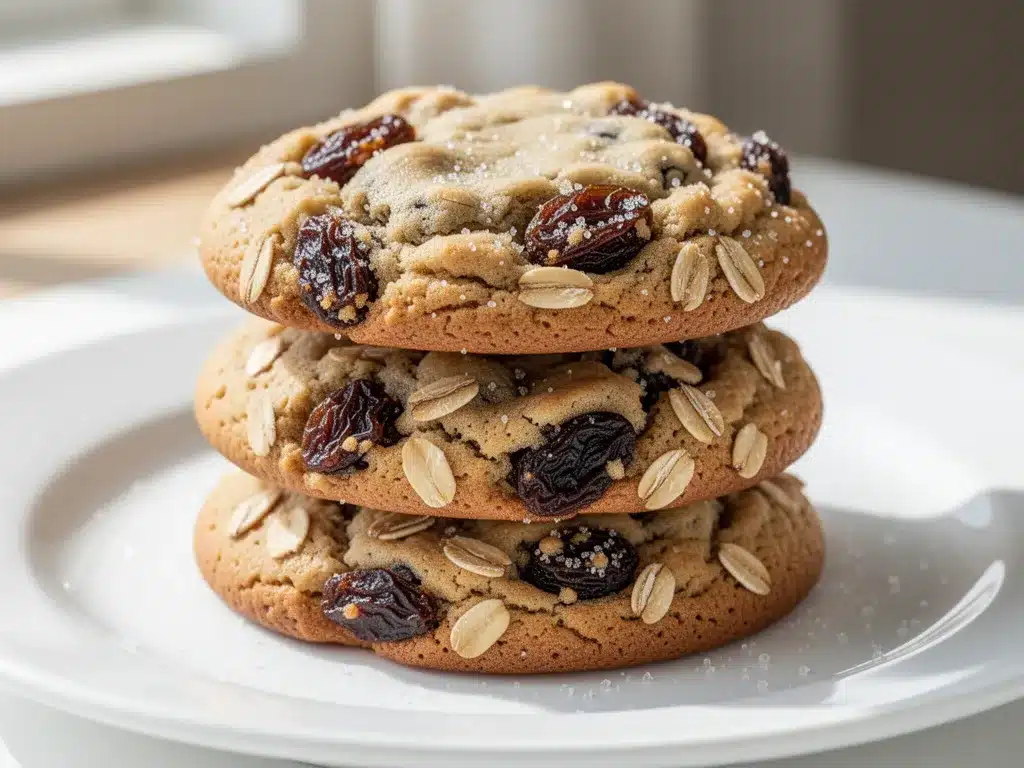
Then came the Sunday at my in-laws. It was raining, the kind of gray drizzle that makes you want to hide under a blanket. My mother-in-law, a woman who could bake a pie that would make angels weep, pulled a tray from the oven. The smell wasn’t just sweet; it was warm, spiced with cinnamon and something earthy that I couldn’t quite place. She didn’t say anything. She just set a plate down in front of me with two cookies that looked slightly underbaked. They were golden at the edges but soft in the center. I took a bite, expecting disappointment. Instead, I got chewiness. Real chewiness. Not the rubbery kind, but the kind that holds together and gives way slowly.
The raisins weren’t stony or bitter. They were plump and juicy, bursting with sweetness that balanced the slight saltiness of the brown butter. I remember sitting there, rain tapping against the window, feeling my resistance melt away along with the cookie in my mouth. I didn’t gush. I didn’t even smile at first. I just ate another one. And another. It wasn’t instant love. It was a slow, quiet realization that I had been wrong about the potential of this classic.
That afternoon changed how I viewed baking. It wasn’t about the flashiest ingredients. It was about technique and patience. I went home and tried to recreate it. My first attempt was flat and tough. My second was better, but still not right. But by the third time, I nailed it. The texture was perfect. The flavor was nostalgic without being cliché. I don’t say this to brag. I say it because if you are on the fence about oatmeal raisin, you need to try this version. It won’t convert you instantly, but it will earn your trust.
Why You’ll Love This Recipe
Let’s be honest for a second. There are a million cookie recipes out there. So why should you spend your Sunday afternoon making these? It’s not just because they taste good. It’s because they do what most cookies fail to do: they deliver consistent texture without the fuss. I’ve tested this recipe dozens of times, from my first disastrous batch to the current version that actually makes people stop talking at dinner parties. Here is what makes this specific recipe stand out from the rest.
- Quick & Easy: You know how some recipes take three hours? This one comes together in under 25 minutes of active time. The dough chills while you watch TV or finish up dinner prep. It’s perfect for busy weeknights when you crave something homemade but don’t want to be tied to the kitchen.
- Simple Ingredients: No fancy grocery trips needed. You likely already have everything in your kitchen. Flour, butter, sugar, eggs, oats, and raisins. That’s it. No obscure flours or weird extracts. Just wholesome, accessible items that you can trust.
- Perfect for Cozy Dinners: Great for potlucks, holiday mornings, or just a rainy Tuesday night. These cookies travel well and stay fresh longer than most. They are the kind of treat that sits on the counter and invites you back for seconds.
- Crowd-Pleaser: Always gets rave reviews from kids and adults alike. I’ve served these to picky eaters who swear they hate raisins. They end up asking for the recipe. It’s a small victory, but a sweet one.
- Unbelievably Delicious: The texture and flavor combo is next-level comfort food. The contrast between the crisp edge and the soft, chewy center is what keeps you coming back. It’s not just sugar; it’s depth.
What makes this recipe different from the rest? It’s the technique. Most people boil the oats or skip the browning of the butter. I don’t. Browning the butter adds a nutty, toasty depth that changes the entire game. It’s a small step that makes a huge difference. Also, using a mix of brown and white sugar ensures the right balance of chew and spread. This isn’t just another version—it’s the best version. It’s comfort food reimagined—healthier, faster, but with the same soul-soothing satisfaction. It’s perfect for impressing guests without stress, or turning a simple meal into something memorable.
What Ingredients You Will Need
This recipe uses simple, wholesome ingredients to deliver bold flavor and satisfying texture without the fuss. The magic here isn’t in complexity; it’s in quality. When you have fewer ingredients, each one has to work harder. I’ve learned through trial and error that swapping out just one item can throw off the entire balance. Here is what you need to get it right.
For the Dough Base
- Unsalted Butter: 1 cup (2 sticks), softened. I recommend using high-quality butter like Land O’Lakes or Kerrygold. The fat content matters here. If your butter is too soft, the cookies will spread too much. If it’s too hard, you won’t get that nice creaming effect. Brown it until it smells like toasted nuts.
- Granulated White Sugar: 1 cup. This helps with the crisp edges. It doesn’t add chewiness on its own, but it provides structure.
- Packed Brown Sugar: 1 cup. Use dark brown sugar for a deeper molasses flavor. This is what gives the cookies their chew. Make sure it’s packed tight in the cup for accuracy.
- Large Eggs: 2, room temperature. Cold eggs can seize the butter. Let them sit out for 30 minutes before you start. This helps the dough emulsify properly.
- Vanilla Extract: 2 teaspoons. Use real vanilla, not imitation. The flavor of vanilla is huge in these cookies. A good brand like Nielsen-Massey makes a difference.
For the Dry Mix
- All-Purpose Flour: 2 ¼ cups. Don’t use cake flour. You need the protein in all-purpose to give the cookie some bite. Spoon it into the cup and level it off. Don’t scoop directly from the bag, or you’ll pack it down and end up with dry cookies.
- Baking Soda: 1 teaspoon. This helps the cookies spread and brown. Make sure it’s fresh. If it’s been in your cabinet for years, toss it and get new stuff.
- Cornstarch: 1 teaspoon. This is my secret weapon. It softens the gluten in the flour, ensuring that chewy texture rather than a crunchy one.
- Salt: 1 teaspoon. Fine sea salt is best. It balances the sweetness and brings out the flavor of the oats.
- Cinnamon: 1 teaspoon. Ground cinnamon. It’s warm and spicy, and it pairs perfectly with the raisins.
The Star Players
- Rolled Oats: 3 cups. Old-fashioned rolled oats are a must. Quick oats will turn the cookies into mush. You want that distinct chewy texture that oats provide.
- Raisins: 1 ½ cups. I prefer golden raisins for a milder sweetness, but regular dark raisins work too. Plump, juicy raisins are key. If yours look dry, soak them in hot water for 10 minutes and drain them before adding. This prevents them from sucking moisture out of the cookie.
Equipment Needed
You don’t need a fancy kitchen to make these cookies. A few basic tools will get you the best results. I’ve tried using hand mixers, but I find that a sturdy wooden spoon or a heavy-duty stand mixer gives more consistent results.
- Large Mixing Bowls: You’ll need two. One for the wet ingredients and one for the dry. A large bowl is essential when folding in the oats and raisins. If the bowl is too small, you’ll spill more than you’ll mix.
- Baking Sheets: Heavy-gauge aluminum sheets are best. They conduct heat evenly. Avoid dark non-stick sheets, as they can cause the bottoms to burn too quickly. If you only have dark sheets, lower your oven temperature by 25 degrees.
- Parchment Paper: Line your baking sheets with parchment. It prevents sticking and makes cleanup a breeze. It also helps the cookies bake evenly. I never bake these without it.
- Measuring Cups and Spoons: Accuracy is key in baking. Use standard measuring cups for dry ingredients and liquid measuring cups for wet ones. A kitchen scale is even better, but cups work fine if you’re careful.
- Wire Cooling Rack: This is non-negotiable. If you let the cookies cool on the hot baking sheet, they will continue to cook and become tough. Transfer them to a rack immediately after baking to stop the cooking process.
Preparation Method
Getting the technique right is what separates a good cookie from a great one. Follow these steps closely, and you’ll have perfect cookies every time.
Step 1: Prepare Your Station
Start by preheating your oven to 350°F (175°C). Line two large baking sheets with parchment paper. Have all your ingredients measured and ready. This is called “mise en place,” and it saves you from panic when the butter is melting. Take your eggs out of the fridge now so they can come to room temperature.
Step 2: Brown the Butter
This is the game-changer. Melt the butter in a saucepan over medium heat. Swirl it constantly. It will foam up, then settle. Watch for small brown bits at the bottom and a nutty aroma. This takes about 5-7 minutes. Once it smells like hazelnuts, remove it from the heat immediately. Pour it into a heat-safe bowl and let it cool for 10 minutes. If you add hot butter to the sugar, it will melt the sugar and ruin the texture.
Step 3: Cream the Sugars
In a large mixing bowl, combine the cooled browned butter, granulated sugar, and brown sugar. Beat with an electric mixer on medium speed for about 3-4 minutes. The mixture should look pale and fluffy. This step incorporates air, which helps the cookies rise slightly. Scrape down the sides of the bowl to ensure everything is mixed evenly.
Step 4: Add Wet Ingredients
Add the eggs one at a time, beating well after each addition. Mix in the vanilla extract. The mixture should look smooth and homogeneous. Don’t rush this step. If it looks curdled, just keep mixing. It will come together.
Step 5: Mix Dry Ingredients
In a separate bowl, whisk together the flour, baking soda, cornstarch, salt, and cinnamon. Sifting isn’t strictly necessary, but it helps remove lumps. Make sure the baking soda is evenly distributed so you don’t get bitter spots.
Step 6: Combine Wet and Dry
Gradually add the dry ingredients to the wet mixture. Mix on low speed until just combined. Do not overmix. Overmixing develops gluten, which makes cookies tough. You want them tender and chewy. Stop mixing as soon as you no longer see streaks of flour.
Step 7: Fold in Oats and Raisins
Use a wooden spoon or spatula to fold in the oats and raisins. Be gentle. You want to distribute them evenly without crushing the oats. The dough will look thick and substantial at this point.
Step 8: Chill the Dough
Cover the bowl with plastic wrap and refrigerate for at least 30 minutes, or up to 24 hours. This step is crucial. It allows the flour to hydrate and the flavors to meld. It also firms up the butter, so the cookies don’t spread into flat pancakes in the oven. If you skip this, you risk flat, greasy cookies.
Step 9: Scoop and Bake
Preheat your oven again if it cooled down while the dough chilled. Scoop balls of dough, about 2 tablespoons each, onto the prepared baking sheets. Space them about 2 inches apart. They will spread. Bake for 10-12 minutes. The edges should be golden brown, but the centers should still look slightly soft and underbaked. They will firm up as they cool.
Step 10: Cool and Serve
Let the cookies sit on the baking sheet for 5 minutes. Then transfer them to a wire rack to cool completely. This is the hardest part. Waiting for them to cool is essential for the final texture. Eat one warm if you have to, but the full chewy experience happens once they cool.
Cooking Tips & Techniques
I’ve made plenty of mistakes along the way, and I’ve learned a few things the hard way. Here are some tips to ensure your cookies turn out perfectly.
- Don’t Overbake: This is the most common mistake. Oatmeal raisin cookies continue to cook on the hot pan after you take them out of the oven. If they look done in the oven, they will be dry by the time they cool. Pull them when they look slightly underdone in the center.
- Measure Flour Correctly: Too much flour is the enemy of chewiness. Always spoon the flour into the measuring cup and level it off. Scooping directly from the bag packs the flour down, leading to dry, crumbly cookies.
- Chill Your Dough: I know it’s tempting to bake immediately. But chilling the dough improves flavor and texture. It prevents excessive spreading and allows the oats to soften properly. If you’re short on time, freeze the dough balls for 15 minutes as a shortcut.
- Use Room Temperature Eggs: Cold eggs can cause the butter to solidify when mixed, leading to a lumpy dough. Room temperature ingredients emulsify better, creating a smoother, more consistent dough.
- Rotate Your Pans: Ovens often have hot spots. Rotate your baking sheets halfway through the baking time to ensure even browning. This prevents one side from being darker than the other.
Variations & Adaptations
While the classic version is my favorite, there are plenty of ways to tweak this recipe to suit your tastes or dietary needs.
Dietary Adjustments
- Gluten-Free: You can swap the all-purpose flour for a 1:1 gluten-free flour blend. Make sure the blend includes xanthan gum, or add ½ teaspoon to the dry ingredients. The texture will be slightly more tender, but still chewy.
- Dairy-Free: Use a high-quality plant-based butter stick instead of regular butter. Coconut oil can work, but it will change the flavor slightly. Almond milk can replace the eggs if needed, though the texture may be less cohesive.
- Lower Sugar: Reduce the granulated sugar by ¼ cup. The brown sugar provides enough sweetness, and reducing it slightly can make the oat and raisin flavors stand out more.
Flavor Twists
- Chocolate Chip: Swap half the raisins for semi-sweet chocolate chips. This is a popular variation that adds a rich, chocolatey contrast.
- White Chocolate and Cranberry: Replace raisins with dried cranberries and add 1 cup of white chocolate chips. This is a tart and sweet combination that’s perfect for the holidays.
- Spiced Extra: Add a pinch of nutmeg or cardamom to the dry ingredients for a warmer, more aromatic cookie.
Personal Variation
I once tried adding a tablespoon of instant coffee to the dough. It sounds weird, but it deepens the chocolate and oat flavors without making the cookie taste like coffee. It’s a subtle trick that adds complexity. I also like to sprinkle flaky sea salt on top right after they come out of the oven. The salt crunch is addictive.
Serving & Storage Suggestions
These cookies are best enjoyed fresh, but they keep well if stored properly.
Serving Suggestions
Serve these cookies warm with a cold glass of milk. It’s a classic combination for a reason. They also pair well with a cup of black tea or a spiced chai latte. For a more sophisticated presentation, serve them on a wooden board with a dollop of whipped cream or a slice of sharp cheddar cheese. The contrast of sweet and savory is delightful.
Storage Instructions
Once completely cooled, store the cookies in an airtight container at room temperature. They will stay fresh for up to 5 days. To keep them chewy, place a slice of bread in the container with the cookies. The bread will release moisture, keeping the cookies soft. If you want to freeze them, place the dough balls on a baking sheet and freeze until solid. Then transfer them to a freezer bag. You can bake them straight from frozen, adding a minute or two to the baking time.
Reheating Tips
If you have leftovers, reheat a cookie in the microwave for 10-15 seconds. It will be soft and warm again. Avoid the oven, as it can dry them out. The flavors develop over time, so they often taste even better the next day as the oats fully absorb the moisture.
Nutritional Information & Benefits
While these are definitely a treat, they do have some nutritional benefits. Oats are a great source of fiber, which aids in digestion and helps keep you full. Raisins provide natural sugars and antioxidants. Using brown butter adds a rich flavor without extra fat. Each cookie contains approximately 150-180 calories, depending on size. They are not low-carb or keto-friendly, but they can fit into a balanced diet in moderation. For those with gluten sensitivities, the gluten-free adaptation offers a safer option. I enjoy these as a weekend indulgence rather than a daily snack. They satisfy a sweet tooth without leaving you feeling overly sluggish.
Conclusion
Making chewy oatmeal raisin cookies at home is a rewarding experience. It’s not just about the taste; it’s about the process. The smell of browning butter, the patience of chilling the dough, and the anticipation of the first bite. This recipe is worth trying because it delivers on its promise: soft, chewy, and flavorful cookies that rival any bakery version. I encourage you to customize it. Add chocolate, swap the raisins, or try a different spice. Make it your own. I love this recipe because it brings me back to those rainy Sundays at my in-laws. It’s comfort in cookie form.
Please share your results with me in the comments below. Did you add chocolate? Did you use golden raisins? I’d love to hear how you adapted it. If you make these, tag me on social media. I love seeing your creations. Happy baking!
Frequently Asked Questions
Why are my oatmeal raisin cookies flat?
This usually happens if the butter is too warm or if the dough isn’t chilled enough. Make sure your butter is cooled before mixing, and chill the dough for at least 30 minutes. Also, check that your baking soda is fresh.
Can I use quick oats instead of rolled oats?
I don’t recommend it. Quick oats are thinner and will make the cookies dense and cake-like. Old-fashioned rolled oats provide the chewy texture that makes these cookies special.
How do I keep the cookies chewy?
Don’t overbake them. Pull them out when the edges are set but the centers look slightly soft. Also, using brown sugar and cornstarch helps maintain chewiness. Store them with a slice of bread to keep them soft.
Can I freeze the cookie dough?
Yes! Scoop the dough into balls and freeze them on a baking sheet. Once solid, transfer them to a freezer bag. You can bake them straight from frozen, adding 1-2 minutes to the baking time.
What is the best type of raisin to use?
Golden raisins are milder and sweeter, while dark raisins are more intense. Both work well. If your raisins look dry, soak them in hot water for 10 minutes and drain them before adding to the dough.
Pin This Recipe!
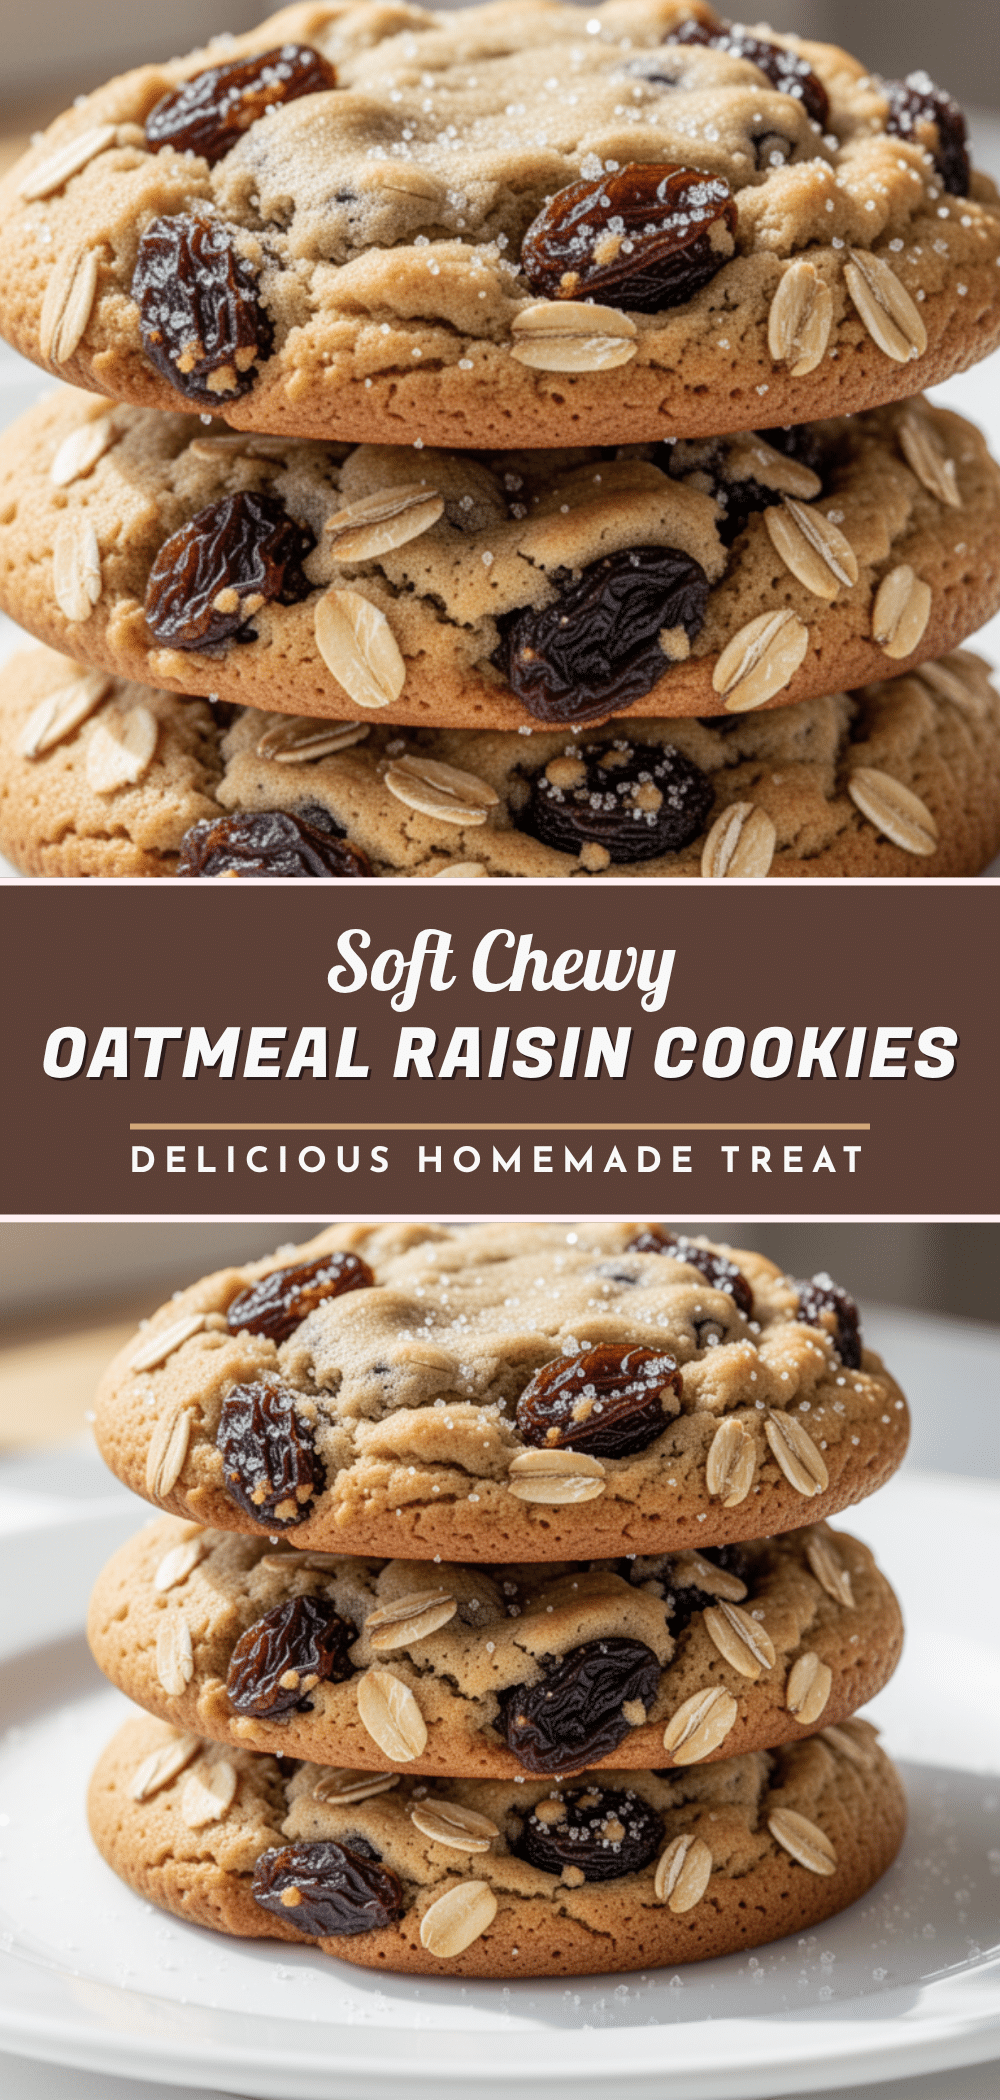
Chewy Oatmeal Raisin Cookies: Best Soft & Chewy Recipe
These soft and chewy oatmeal raisin cookies feature browned butter for a nutty depth, a mix of brown and white sugar for perfect texture, and a secret touch of cornstarch to ensure they stay tender rather than crunchy.
- Prep Time: 25 minutes
- Cook Time: 12 minutes
- Total Time: 37 minutes
- Yield: Approximately 24 cookies 1x
- Category: Dessert
- Cuisine: American
Ingredients
- 1 cup (2 sticks) unsalted butter, softened and browned
- 1 cup granulated white sugar
- 1 cup packed dark brown sugar
- 2 large eggs, room temperature
- 2 teaspoons vanilla extract
- 2 ¼ cups all-purpose flour
- 1 teaspoon baking soda
- 1 teaspoon cornstarch
- 1 teaspoon fine sea salt
- 1 teaspoon ground cinnamon
- 3 cups old-fashioned rolled oats
- 1 ½ cups raisins (golden or dark)
Instructions
- Preheat oven to 350°F (175°C). Line two large baking sheets with parchment paper.
- Melt butter in a saucepan over medium heat, swirling constantly until it foams, settles, and smells nutty with brown bits at the bottom (5-7 minutes). Pour into a heat-safe bowl and cool for 10 minutes.
- In a large mixing bowl, combine cooled browned butter, granulated sugar, and brown sugar. Beat on medium speed for 3-4 minutes until pale and fluffy.
- Add eggs one at a time, beating well after each addition. Mix in vanilla extract until smooth.
- In a separate bowl, whisk together flour, baking soda, cornstarch, salt, and cinnamon.
- Gradually add dry ingredients to the wet mixture, mixing on low speed until just combined. Do not overmix.
- Fold in oats and raisins gently with a wooden spoon or spatula.
- Cover the bowl and refrigerate dough for at least 30 minutes (or up to 24 hours).
- Scoop dough balls (about 2 tablespoons each) onto prepared baking sheets, spacing them 2 inches apart.
- Bake for 10-12 minutes until edges are golden brown but centers look slightly soft.
- Let cookies sit on the baking sheet for 5 minutes, then transfer to a wire rack to cool completely.
Notes
Do not overbake; cookies continue to cook on the hot pan. Measure flour by spooning it into the cup and leveling off to avoid dry cookies. Chilling the dough is crucial for texture and preventing excessive spreading. For gluten-free, use a 1:1 gluten-free flour blend with xanthan gum. For dairy-free, use plant-based butter.
Nutrition
- Serving Size: 1 cookie
- Calories: 165
- Sugar: 14
- Sodium: 180
- Fat: 8
- Saturated Fat: 5
- Carbohydrates: 22
- Fiber: 1
- Protein: 2
Keywords: oatmeal raisin cookies, chewy cookies, brown butter cookies, soft cookies, baking recipe, homemade cookies