I threw the banana into the bowl, mashed it with the fork of a person who has given up on elegance, and dumped in the pumpkin. I wasn’t measuring. I was guessing. I tossed in walnuts that I toasted on the stove because I don’t own a fancy oven-safe skillet, and I prayed to the baking gods that sugar and flour would behave. When the smell hit me—that rich, earthy scent of cinnamon and roasted nuts mixing with the sweet vanilla of overripe fruit—I knew I had survived. The bread came out of the oven golden and steaming, and when my guests arrived, they didn’t ask about the bread. They just took a slice, closed their eyes, and sighed. That quiet moment of relief, the kind where you realize you pulled it off by the skin of your teeth, is why I keep making this. It’s not just about the taste; it’s about the magic of turning chaos into comfort.
Why You’ll Love This Recipe
Let’s be honest for a second. Most banana breads are just sweet logs of mush. This one? It’s different. It’s got structure. It’s got soul. I’ve tested this version more times than I care to admit, and honestly, it’s the only one that doesn’t leave me wondering if I burned the walnuts or undermixed the batter. This isn’t just another pumpkin recipe clogging up your Pinterest feed; it’s the one that actually works when you’re tired, distracted, or just really craving something that feels like a hug in food form.
- Quick & Easy: You know how most baking takes hours? Not this. This comes together in about ten minutes of active prep. That’s it. You can have it in the oven before you finish your morning coffee, which is perfect for those busy weeknights when you want to feel like a gourmet chef without the actual work.
- Simple Ingredients: I love that you likely have everything in your kitchen right now. No trip to the specialty store. No fancy flours that cost more than your rent. Just pumpkin, bananas, walnuts, and pantry staples. It’s accessible, which means you can make it when the urge strikes, not when you’ve planned for months.
- Perfect for Cozy Dinners: This is the ultimate comfort food. It’s great for potlucks, sure, but it shines on a rainy Sunday morning with a cup of tea. It turns a simple meal into something memorable, even if you’re eating it alone in your pajamas.
- Crowd-Pleaser: Kids love it because it’s sweet. Adults love it because it’s not *too* sweet. It’s that Goldilocks zone of flavor that gets rave reviews from everyone, including the picky eater who claims to hate “veggies” (pumpkin counts, right?).
- Unbelievably Delicious: The texture is the game-changer. The pumpkin makes it moist without being dense, and the toasted walnuts add this incredible crunch that contrasts with the soft crumb. It’s next-level comfort food that feels sophisticated but tastes like home.
What makes this recipe stand out from the rest is the balance. Too much pumpkin can make bread gummy. Too many bananas can make it sour. I’ve found the sweet spot. It’s not just good; it’s the kind of bread that makes you close your eyes after the first bite and forget about your to-do list. It’s comfort food reimagined—healthier than a cake, faster than a loaf from the bakery, but with the same soul-soothing satisfaction.
What Ingredients You Will Need
This recipe uses simple, wholesome ingredients to deliver bold flavor and satisfying texture without the fuss. You don’t need a degree in food science to understand why these work together; they just do. The pumpkin adds moisture and earthiness, the banana adds natural sweetness and binding power, and the walnuts provide that necessary textural contrast. Here is what you need to gather, grouped by how they function in the batter.
For the Wet Base
- Ripe bananas: Two medium-large bananas, mashed. Look for ones with brown spots. The browner, the better. They add natural sweetness and moisture. (I recommend using bananas that are almost black on the peel for maximum flavor.)
- Pumpkin puree: One cup of canned pumpkin puree. Not pumpkin pie filling. Just pure pumpkin. This is crucial for that dense, moist crumb. (I prefer Libby’s because the texture is consistently smooth, but any brand works if it’s 100% pure.)
- Unsalted butter: Half a cup, melted. This adds richness and helps the bread hold together. (You can substitute with coconut oil for a dairy-free option, though it changes the flavor slightly.)
- Maple syrup: Half a cup. I use pure maple syrup instead of white sugar because it adds a deeper, caramel-like note that pairs perfectly with the pumpkin. (If you don’t have maple syrup, brown sugar works, but maple is superior.)
- Large eggs: Two eggs, room temperature. These bind everything together. (Let them sit out for 20 minutes before you start if you forget to take them out of the fridge.)
- Vanilla extract: One teaspoon. Just a splash to round out the flavors. (Don’t skip this; it makes the pumpkin taste like dessert, not soup.)
For the Dry Mix
- All-purpose flour: One and a half cups. This is the structure. (For a gluten-free option, use a 1-to-1 gluten-free flour blend, but add an extra tablespoon if the batter looks too thin.)
- Baking soda: One teaspoon. This is what makes it rise. (Make sure it’s not expired; old baking soda means flat bread.)
- Baking powder: Half a teaspoon. A little extra lift for that bakery-style dome.
- Cinnamon: One and a half teaspoons. The star spice here. (Use ground cinnamon, not powder, for better flavor.)
- Ginger: Half a teaspoon. Ground ginger adds a warm kick that complements the pumpkin.
- Nutmeg: Quarter teaspoon. Just a pinch. Too much will make it taste medicinal.
- Salt: Half a teaspoon. Essential to balance the sweetness. (Use fine sea salt if you have it.)
For the Topping
- Walnuts: One cup, chopped. Toasting them is non-negotiable. (I buy them raw and toast them myself for the best flavor.)
- Coarse sugar: One tablespoon, optional. For that crackly, bakery-style top. (If you don’t have coarse sugar, regular granulated sugar works fine.)
Equipment Needed
You don’t need a fancy kitchen to make this bread. In fact, some of my best memories of baking involve tools that are older than my kids. Here is what you’ll need to get the job done.
First, you need a 9×5 inch loaf pan. This is standard. If you don’t have one, a standard 8×4 inch pan will work, but your bread will be shorter and wider, and it might cook faster, so watch it closely. I recommend lining your pan with parchment paper. It’s a game-changer for cleanup. If you don’t have parchment, grease the pan well with butter or cooking spray, but the paper makes removing the bread so much easier. You’ll also need a medium mixing bowl for the wet ingredients and a large mixing bowl for the dry ones. I use glass bowls because I can see the consistency better, but plastic or stainless steel work fine.
A fork or potato masher is all you need for the bananas. No electric mixer required. Honestly, using a hand mixer can overwork the gluten, leading to a tough bread. You want to keep it simple. For the walnuts, a small skillet is perfect for toasting. I use a non-stick skillet because it’s easier to clean, but a cast-iron skillet works too if you don’t mind the extra weight. Finally, a cooling rack is essential. Never leave the bread in the hot pan; it will continue to cook and get soggy on the bottom. Let it breathe on the rack for at least ten minutes before slicing.
Preparation Method
Okay, let’s get into the actual baking. This part is straightforward, but pay attention to the details. I’ve messed this up before by rushing, and it showed. Don’t rush.
- Preheat and Prep: Preheat your oven to 350°F (175°C). This is a standard baking temperature that ensures the center cooks through without burning the top. While the oven heats, take your 9×5 inch loaf pan and line it with parchment paper. Leave a little overhang on the sides so you can lift the bread out later. Grease the parchment lightly with butter or oil. This step takes about two minutes, so use this time to get your ingredients out.
- Mash the Bananas: In your medium bowl, add the peeled bananas. Use your fork or masher to mash them until they are mostly smooth. I like to leave a few small chunks for texture, but don’t overthink it. Just get them broken down. Add the melted butter, maple syrup, eggs, and vanilla extract to the bowl. Whisk everything together with the fork until it’s combined. It doesn’t need to be perfectly smooth; just mixed. This should take about three minutes.
- Toast the Walnuts: While the wet ingredients are mixing, grab your small skillet. Add the chopped walnuts over medium heat. Toast them for about 3-5 minutes, stirring frequently. You’ll know they’re done when they smell nutty and slightly browned. Be careful not to burn them; burnt walnuts taste bitter. Once they’re toasted, remove them from the heat and set them aside on a plate. Let them cool while you make the batter.
- Mix the Dry Ingredients: In your large bowl, whisk together the flour, baking soda, baking powder, cinnamon, ginger, nutmeg, and salt. Whisking is important here to distribute the leavening agents evenly. If you don’t whisk, you might get a baking soda bite in one slice and a flat slice in another. This takes about one minute.
- Combine Wet and Dry: Add the pumpkin puree to the dry ingredients. Stir it in gently with a spatula or wooden spoon until it’s just combined. Then, pour in the banana mixture. Fold everything together. Stop mixing as soon as you no longer see streaks of flour. Overmixing is the enemy of tender bread. The batter will be thick and sticky. This is normal. Do not add more flour.
- Add Walnuts: Fold in the toasted walnuts. Reserve about a quarter cup for the top of the bread. This ensures you get walnuts in every bite and a beautiful topping.
- Bake: Pour the batter into your prepared loaf pan. Smooth the top with your spatula. Sprinkle the reserved walnuts and coarse sugar over the top. Place the pan in the center of the oven. Bake for 55-65 minutes. The bread is done when a toothpick inserted into the center comes out clean or with just a few moist crumbs. If the top is browning too quickly, cover it loosely with aluminum foil for the last 15 minutes of baking.
- Cool: Remove the pan from the oven and let it cool in the pan for 10 minutes. Then, lift the bread out using the parchment paper overhang and place it on the cooling rack. Let it cool completely before slicing. This is the hardest part, I know. But slicing it hot will make it gummy.
Cooking Tips & Techniques
I’ve learned a few things the hard way, and I’m sharing them so you don’t have to. The biggest mistake people make with pumpkin bread is using the wrong pumpkin. Make sure you are using 100% pure pumpkin puree, not pumpkin pie filling. Pie filling has sugar and spices already added, which will throw off the balance of your recipe. It will be too sweet and too wet.
Another tip is to toast your walnuts. I know it’s an extra step, but raw walnuts in bread taste dull. Toasting them brings out their natural oils and adds a depth of flavor that makes the bread taste professional. It’s worth the five minutes. Also, don’t skip the cooling rack. If you let the bread sit in the hot pan, the steam gets trapped and makes the bottom soggy. A little patience goes a long way.
If your batter looks too dry, it’s probably because your bananas were small. Add a tablespoon of milk or extra pumpkin puree. If it looks too wet, add a tablespoon of flour. But really, just trust the process. The batter should be thick, like a heavy cake batter. If it’s runny, you added too much liquid. And finally, don’t open the oven door too often. Every time you open it, you lose heat, and the bread might not rise properly. Set a timer and wait.
Variations & Adaptations
This recipe is pretty flexible, which is great for different dietary needs or flavor preferences. Here are a few ways to customize it.
Gluten-Free Option: Swap the all-purpose flour for a 1-to-1 gluten-free flour blend. I’ve tested this with Bob’s Red Mill and King Arthur, and both work well. You might need to add an extra tablespoon of liquid if the batter seems too thick, as gluten-free flours can be absorbent.
Dairy-Free Option: Use coconut oil instead of butter. It adds a slight coconut flavor, which pairs nicely with the pumpkin. You can also use any plant-based milk if you need to adjust consistency.
Nut-Free Option: If you’re making this for a school event or someone with a nut allergy, skip the walnuts entirely. You can add chocolate chips or dried cranberries for a different twist. The bread will be softer, but still delicious.
Spice Variation: If you love cardamom, add half a teaspoon of ground cardamom along with the cinnamon. It gives it a fragrant, Scandinavian vibe that is really nice in the fall. I tried this once with a friend, and it became an instant favorite.
Serving & Storage Suggestions
This bread is best served at room temperature. It’s soft, moist, and perfect with a cup of coffee or tea. If you want to warm it up, just microwave a slice for 15-20 seconds. It melts the walnuts slightly and brings out the spices.
For storage, wrap the cooled loaf tightly in plastic wrap or aluminum foil. It will keep at room temperature for up to three days. If you want it to last longer, store it in the refrigerator for up to a week. Just let it come to room temperature before eating, as cold bread can taste dense.
You can also freeze this bread. Wrap it tightly in plastic wrap and then in foil. It will last for up to three months in the freezer. Thaw it overnight in the fridge or at room temperature. The flavors actually develop and get stronger after a day or two, so it’s even better on day two.
Nutritional Information & Benefits
This bread is a bit heavier on the calories due to the walnuts and butter, but it’s also packed with nutrients. Bananas are a great source of potassium and vitamin B6, which are good for heart health and energy. Pumpkin is rich in vitamin A and fiber, which supports eye health and digestion. Walnuts provide healthy omega-3 fatty acids, which are great for brain function.
While it’s not a diet food, it’s a better alternative to store-bought cakes or cookies. It uses natural sweeteners like maple syrup and bananas, so you avoid refined sugar spikes. It’s a wholesome treat that satisfies a sweet tooth without making you feel guilty. Just enjoy it in moderation.
Conclusion
This Cozy Pumpkin Banana Bread with Toasted Walnuts is more than just a recipe. It’s a solution for busy days, a comfort for rainy ones, and a gift for friends. It’s easy to make, delicious to eat, and perfect for sharing. I hope you try it and find your own moments of relief and joy in the kitchen.
Feel free to tweak it to your liking. Add chocolate chips, swap the nuts, or change the spices. Make it your own. And if you do make it, I’d love to hear how it turned out. Leave a comment below with your thoughts or share a photo. I read every single one. Thanks for being here, and happy baking!
FAQs
Can I use fresh pumpkin instead of canned?
Yes, you can use fresh pumpkin, but you need to roast it first and mash it into a smooth puree. Canned pumpkin is usually preferred because it has a consistent moisture content. If you use fresh, make sure to drain any excess water from the puree to avoid a soggy bread.
Why is my banana bread dense?
Dense bread is usually caused by overmixing the batter. Once you add the flour, mix it just until combined. Also, check your baking soda and baking powder. If they are old, they won’t lift the bread properly. Make sure your bananas are ripe for better moisture and sweetness.
Can I freeze this bread?
Absolutely. This bread freezes very well. Wrap it tightly in plastic wrap and then in foil. It can be stored in the freezer for up to three months. Thaw it overnight in the fridge or at room temperature before eating.
What can I use instead of walnuts?
You can use pecans, hazelnuts, or even seeds like pumpkin seeds or sunflower seeds if you want a nut-free option. Chocolate chips or dried cranberries also work well if you prefer a sweeter topping.
How do I know when the bread is done?
Insert a toothpick into the center of the loaf. If it comes out clean or with just a few moist crumbs, it’s done. If there is wet batter on the toothpick, bake it for another 5-10 minutes. The top should also be golden brown and spring back when lightly pressed.
Pin This Recipe!
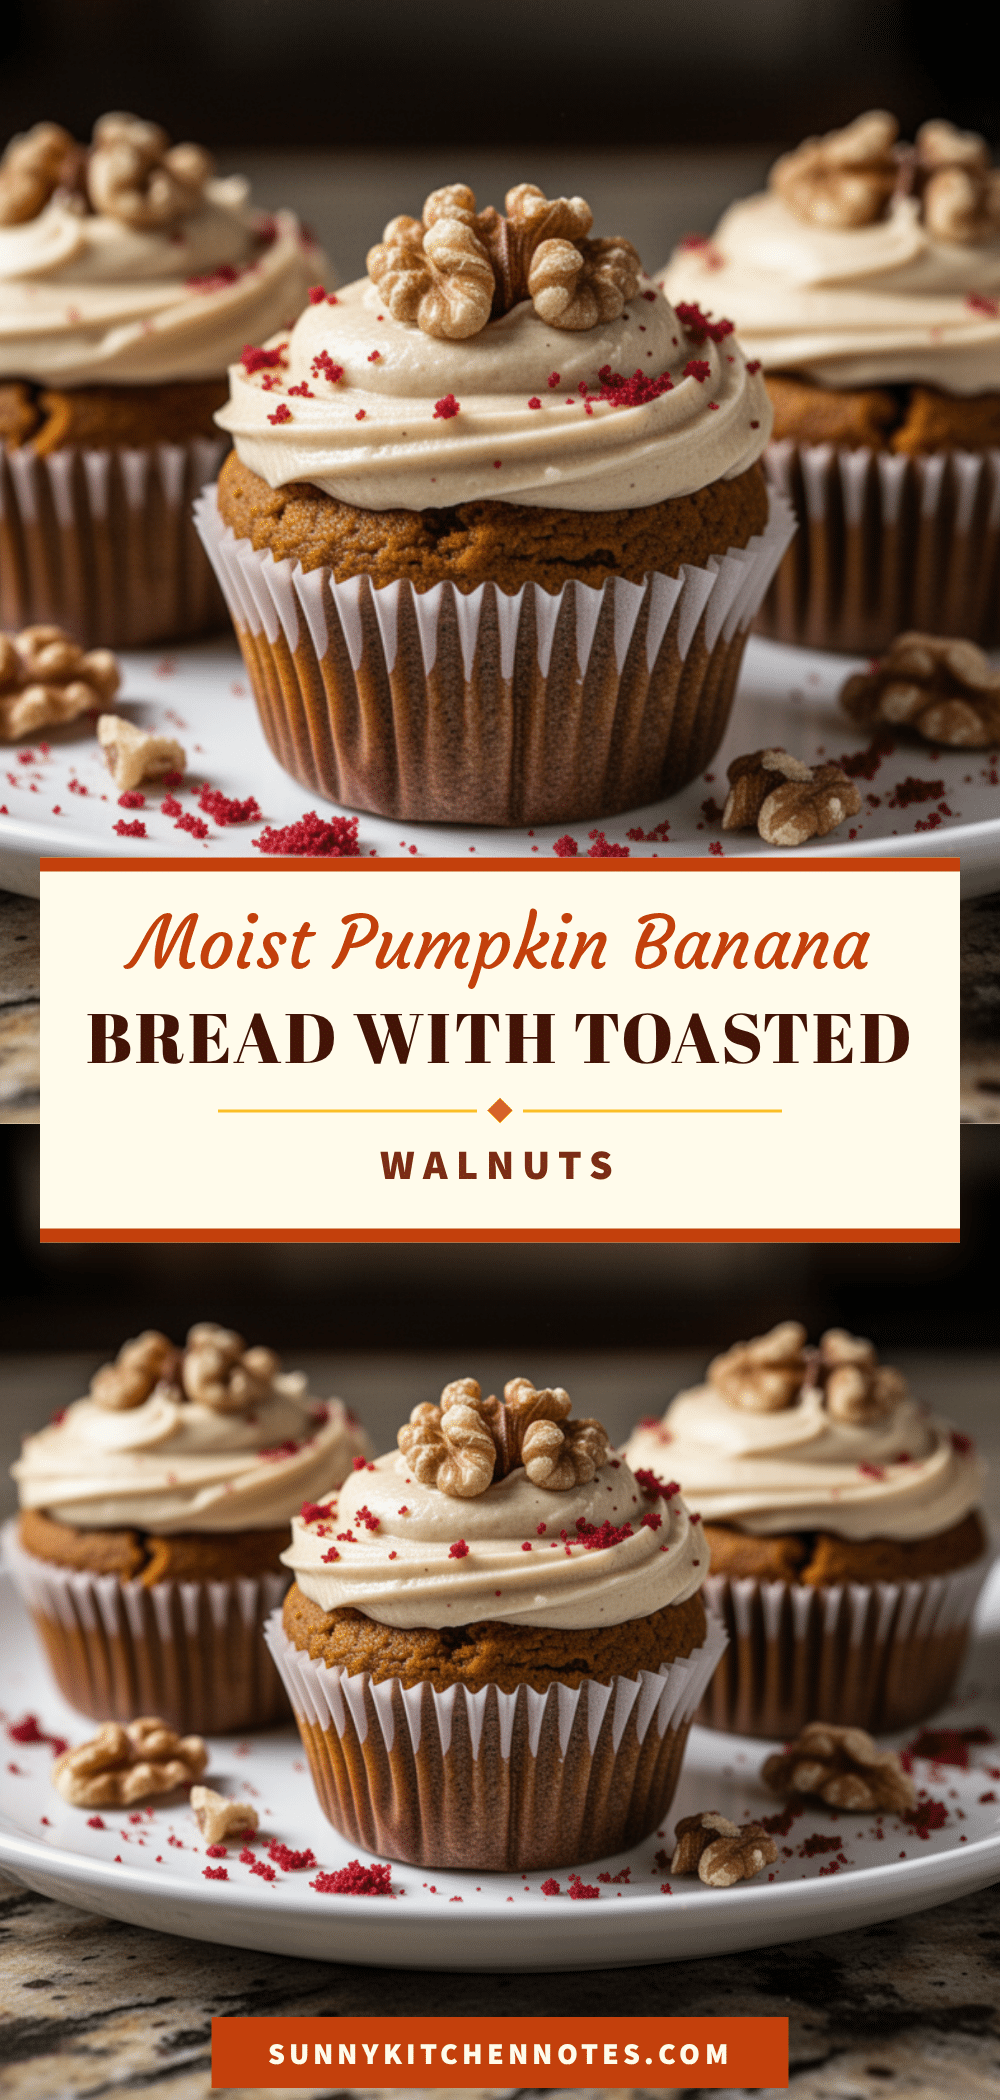
Cozy Pumpkin Banana Bread: Best 6-Ingredient Easy Recipe

A moist, comforting pumpkin banana bread made with simple pantry staples and toasted walnuts. This easy recipe balances sweetness and earthiness for a perfect cozy treat.
- Prep Time: 10 minutes
- Cook Time: 55-65 minutes
- Total Time: 1 hour 15 minutes
- Yield: 1 loaf (8-10 servings) 1x
- Category: Dessert
- Cuisine: American
Ingredients
- 2 medium-large ripe bananas, mashed
- 1 cup canned pumpkin puree
- 1/2 cup unsalted butter, melted
- 1/2 cup pure maple syrup
- 2 large eggs, room temperature
- 1 teaspoon vanilla extract
- 1 1/2 cups all-purpose flour
- 1 teaspoon baking soda
- 1/2 teaspoon baking powder
- 1 1/2 teaspoons ground cinnamon
- 1/2 teaspoon ground ginger
- 1/4 teaspoon ground nutmeg
- 1/2 teaspoon salt
- 1 cup walnuts, chopped and toasted
- 1 tablespoon coarse sugar, optional
Instructions
- Preheat oven to 350°F (175°C). Line a 9×5 inch loaf pan with parchment paper and grease lightly.
- In a medium bowl, mash bananas until mostly smooth. Add melted butter, maple syrup, eggs, and vanilla; whisk to combine.
- In a small skillet over medium heat, toast chopped walnuts for 3-5 minutes until fragrant and slightly browned. Set aside to cool.
- In a large bowl, whisk together flour, baking soda, baking powder, cinnamon, ginger, nutmeg, and salt.
- Add pumpkin puree to the dry ingredients and stir until just combined. Pour in the banana mixture and fold gently until no streaks of flour remain.
- Fold in the toasted walnuts, reserving about 1/4 cup for the topping.
- Pour batter into the prepared pan, smooth the top, and sprinkle with reserved walnuts and coarse sugar.
- Bake for 55-65 minutes, or until a toothpick inserted into the center comes out clean. Cover with foil if the top browns too quickly.
- Cool in the pan for 10 minutes, then transfer to a wire rack to cool completely before slicing.
Notes
Ensure you use 100% pure pumpkin puree, not pumpkin pie filling. Toasting walnuts enhances flavor significantly. Do not overmix the batter to avoid dense bread. For gluten-free, use a 1-to-1 gluten-free flour blend. For dairy-free, substitute butter with coconut oil.
Nutrition
- Serving Size: 1 slice
- Calories: 280
- Sugar: 22
- Sodium: 250
- Fat: 12
- Saturated Fat: 4
- Carbohydrates: 38
- Fiber: 3
- Protein: 4
Keywords: pumpkin banana bread, easy baking, fall recipes, comfort food, walnut bread, gluten-free option, dairy-free option