My nephew pointed at the plate of white, lumpy treats sitting on the counter, his eyes wide with a mix of suspicion and delight. He was five, old enough to know it was Halloween, but young enough to believe that food could actually be alive. I laughed, picking one up to show him the tiny black sesame seeds I’d pressed on for eyes. “They’re not ghosts, buddy,” I told him. “They’re Rice Krispie Pops, and they’re ready to haunt your tummy.” That moment stuck with me. It wasn’t just about the sugar rush or the cute faces we made; it was about the joy of creating something silly together in the kitchen. You know how it is with Halloween treats—everyone wants them to look spooky, but the real magic happens when you stop taking the process so seriously.
I’ve made hundreds of batches of Rice Krispie treats over the years. Some are square, some are balls, and some are shaped like pumpkins or bats. But this year, I wanted something that felt a little more personal, a little more fun. I wanted something that wouldn’t melt in your hand before you could take a photo. The idea came to me while watching the sunset through the window, thinking about how simple ingredients can turn into something magical with just a little creativity. Honestly, these pops are the perfect balance of crunchy, chewy, and sweet. They are easy enough for kids to help with, yet impressive enough to serve at a party where adults might pretend to care about the aesthetic.
What I love most about these Cute Spooky Halloween Rice Krispie Pops is that they don’t require any fancy equipment or rare ingredients. You probably have everything you need right now in your pantry. The process is fast, the cleanup is minimal, and the results are always a hit. Whether you are hosting a trick-or-treat event or just want a midnight snack that feels festive, these treats deliver. They are sturdy, easy to handle, and surprisingly delicious. Let’s face it, Halloween is all about the vibes, and these pops bring just the right amount of whimsy to the table. Plus, they look adorable on a platter, which is always a win for anyone who shares their food on social media. I promise you, once you try this version, you won’t go back to plain squares. The texture is better, the presentation is cuter, and the fun factor is off the charts.
Why You’ll Love This Recipe
There is a reason why Rice Krispie treats have remained a staple in American kitchens for decades, but these pops take that nostalgia and give it a fresh, spooky twist. I have tested this recipe dozens of times, adjusting the marshmallow-to-cereal ratio to get that perfect chew that doesn’t turn into a hard brick when it cools. The key is patience and temperature control, which I will walk you through step by step. Here is why this specific version stands out from the crowd:
- Quick & Easy: These come together in under 20 minutes. You really don’t need to spend hours in the kitchen. It is perfect for busy weeknights or last-minute Halloween preparations when you realize you forgot to buy candy.
- Simple Ingredients: No fancy grocery trips needed. You likely already have marshmallows, butter, and cereal in your pantry. It is the ultimate pantry-to-plate recipe that saves you time and money.
- Perfect for Halloween Parties: These are great for trick-or-treat bags, classroom parties, or spooky movie nights. They are finger-friendly and mess-free compared to other desserts.
- Crowd-Pleaser: Always gets rave reviews from kids and adults alike. The cute faces make them approachable, even for picky eaters who might be scared of “real” spooky foods.
- Unbelievably Delicious: The texture and flavor combo is next-level comfort food. The crispiness of the cereal contrasts perfectly with the gooey marshmallow, creating a sensory experience that is hard to beat.
What makes this recipe different is the attention to detail in the shaping and decorating. Many people just press the mixture into a pan, but here we are rolling them into balls and adding personality. It is a special technique that transforms a basic snack into a character. Whether it is the way you melt the marshmallows slowly for a smoother texture or the creative use of candy eyes and chocolate, this isn’t just another version—it’s your best version. This recipe isn’t just good; it is the kind that makes you close your eyes after the first bite and smile. It is comfort food reimagined—healthier in portion size, faster to make, but with the same soul-soothing satisfaction. Perfect for impressing guests without stress, or turning a simple meal into something memorable.
What Ingredients You Will Need
This recipe uses simple, wholesome ingredients to deliver bold flavor and satisfying texture without the fuss. The beauty of Rice Krispie treats lies in their simplicity, but choosing the right quality ingredients can make a noticeable difference in the final taste and texture. Most of these items are pantry staples, which is why this recipe is so reliable. You can easily substitute some items based on dietary needs or what you have on hand, but for the best results, stick to the core components.
- Marshmallows: Standard white mini marshmallows are ideal because they melt evenly and quickly. I recommend using a high-quality brand like Jet-Puffed for consistent results, as cheaper brands sometimes have additives that affect melting. You will need about 10 ounces (one standard bag).
- Unsalted Butter: Use real butter, not margarine. Salted butter can be used, but you will need to reduce any added salt in the recipe. Room temperature butter melts faster and creates a smoother mixture. You will need 3 tablespoons.
- Rice Cereal: Original crispy rice cereal is the classic choice. Brands like Kellogg’s or store brands work well. Avoid puffed rice or brown rice cereal unless you want a different texture, as they absorb moisture differently. You will need 6 cups.
- Vanilla Extract: A teaspoon of pure vanilla extract adds depth to the sweetness. Artificial vanilla can taste harsh, so try to use the real thing if possible. It is optional but highly recommended for a richer flavor profile.
- White Chocolate Chips: For the “ghost” coating, use high-quality white chocolate chips. Brands like Ghirardelli or Lindt melt smoothly and have a creamier taste. Avoid baking chips if you can find regular chips, as they are formulated to hold their shape and might not coat as nicely. You will need 1 cup.
- Food Coloring: Gel food coloring in orange and black is best for the decorations. Gel colors are more concentrated and won’t thin out your chocolate coating like liquid colors might. You only need a tiny amount.
- Candy Eyes: Small black candy eyes are essential for the spooky look. You can find these in the baking aisle or online. If you can’t find them, you can make your own using melted chocolate and a toothpick.
- Mini Chocolate Chips: For the mouths or additional details, mini chocolate chips are perfect because of their small size. They are easy to melt and apply with precision.
If you are looking for substitutions, you can use dairy-free marshmallows and butter alternatives for a vegan version, though the texture might be slightly different. For a gluten-free option, ensure your rice cereal is certified gluten-free. In summer, you might want to add a pinch of sea salt to balance the sweetness, as heat can make sugar taste cloying.
Equipment Needed
You don’t need a lot of fancy gadgets to make these treats, but having the right tools will make the process much smoother. First, you will need a large, heavy-bottomed saucepan or Dutch oven. I prefer a Dutch oven because it distributes heat evenly, preventing the marshmallows from burning at the bottom. A non-stick pan is helpful, but you will still need to grease it well to prevent sticking. A wooden spoon or silicone spatula is essential for stirring. Silicone is better because it can withstand the heat and scrapes the sides of the pan effectively.
For shaping the pops, you will need a baking sheet lined with parchment paper or a silicone baking mat. Parchment paper is cheaper and works great, but a silicone mat is reusable and makes cleanup a breeze. I have tried both and find that silicone mats provide a slightly more even surface for rolling the treats. You will also need a microwave-safe bowl for melting the white chocolate. If you don’t have one, you can use a glass measuring cup with a spout, which makes pouring easier.
For decorating, small piping bags or zip-top bags with the corner snipped off are useful for applying chocolate details. If you don’t have those, you can use a knife or a toothpick. A pair of tweezers is helpful for placing the candy eyes precisely, especially if you have small hands or are working quickly. Finally, keep a small bowl of water nearby to dip your fingers in. This prevents the sticky marshmallow mixture from adhering to your skin while you are shaping the balls. These tools are mostly things you already own, but having them ready will save you time and frustration.
Preparation Method
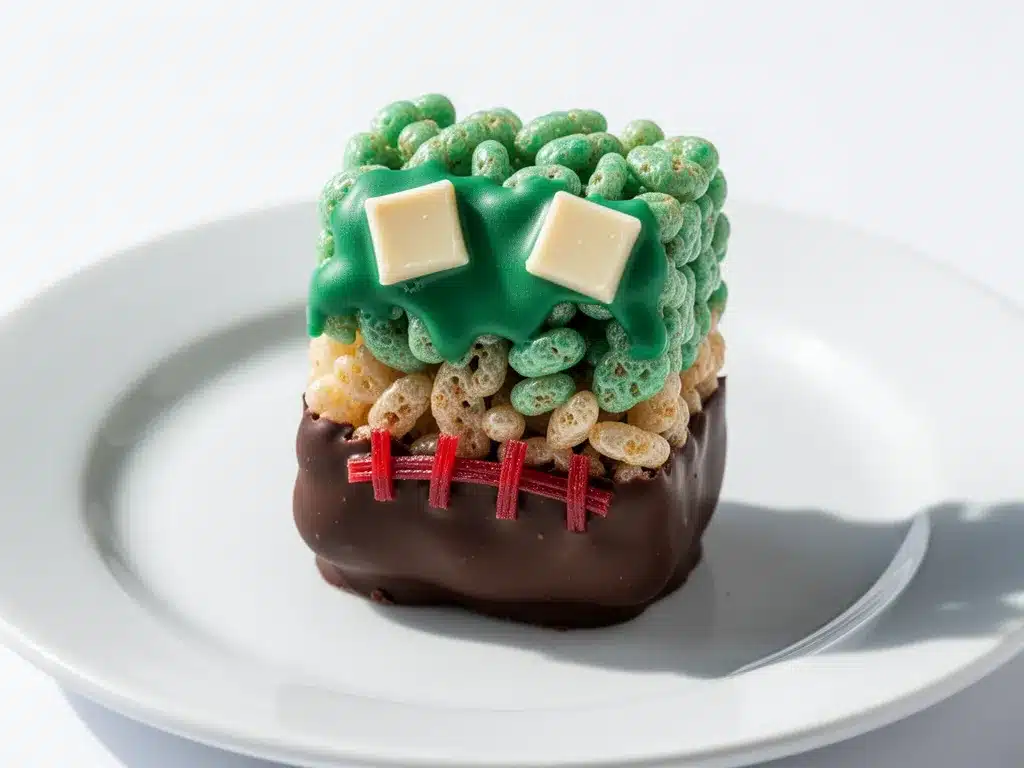
Let’s get started on making these Cute Spooky Halloween Rice Krispie Pops. The process is straightforward, but there are a few tricks to ensure they turn out perfectly. First, prepare your workspace. Line a baking sheet with parchment paper and set it aside. This is crucial because the mixture will be sticky and hard to move once it starts to cool. Also, grease your hands with a little butter or cooking spray to prevent sticking while you shape the treats.
- Melt the Butter: In your large saucepan or Dutch oven, melt 3 tablespoons of unsalted butter over low heat. Do not let the butter brown. You just want it fully liquid. This step takes about 2-3 minutes. Keep the heat low to avoid burning the butter, which can give the treats a bitter taste.
- Add Marshmallows: Once the butter is melted, add the entire bag of mini marshmallows to the pan. Stir constantly with your silicone spatula. The marshmallows will start to melt and become gooey. This process can take 5-7 minutes. Be patient here; rushing the heat can cause the marshmallows to seize or burn. The mixture should be smooth and glossy when done.
- Stir in Vanilla: Remove the pan from the heat and stir in 1 teaspoon of vanilla extract. The residual heat will melt the vanilla in evenly. If you are using salted butter, you might want to add a pinch of salt now to balance the sweetness.
- Combine with Cereal: Immediately add the 6 cups of rice cereal to the marshmallow mixture. Stir gently but thoroughly. You want to coat every piece of cereal evenly. It might take a few minutes of stirring to get it all mixed in. If the mixture seems too dry, you can add a little more melted butter, but usually, the ratio is correct.
- Shape the Balls: With greased hands, scoop out portions of the mixture and roll them into balls. Aim for balls that are about 2 inches in diameter. Place them on the prepared baking sheet. You should get about 15-20 pops depending on the size. This step takes about 10 minutes. Work quickly before the mixture cools and hardens.
- Melt the Chocolate: In a microwave-safe bowl, combine 1 cup of white chocolate chips with 1 tablespoon of shortening or coconut oil. This addition helps thin the chocolate for easier dipping. Microwave in 30-second intervals, stirring between each, until smooth. This takes about 1-2 minutes total. Do not overheat, or the chocolate will become grainy.
- Dip the Pops: Using a fork or your fingers, dip each rice krispie ball into the melted white chocolate. Let the excess drip off, then place it back on the parchment paper. You can use a toothpick to help maneuver the ball if it is sticky. This step requires a bit of practice to get a smooth coating.
- Decorate: While the chocolate is still wet, place two candy eyes on the ball for the ghost look. For the orange pumpkins, you can dip them in orange-tinted chocolate or just drizzle orange chocolate over the white base. Add small chocolate chips for mouths or details. Let them set at room temperature for about 15-20 minutes.
If the chocolate thickens up while you are dipping, you can add a tiny bit more shortening to loosen it. Keep the bowl over a warm water bath if you are having trouble. Once the treats are set, they are ready to serve or store.
Cooking Tips & Techniques
Making Rice Krispie treats seems simple, but there are a few common pitfalls that can ruin the texture. One of the biggest mistakes is overheating the marshmallows. If you cook them on high heat, they can become tough and chewy in a bad way, rather than soft and gooey. Always use low heat and be prepared to stir constantly. I learned this the hard way on my first attempt, ending up with a hard, caramelized mess that was impossible to mix with the cereal.
Another tip is to work quickly once you add the cereal. The mixture starts to set as it cools, so you want to get it into the pan and shaped before it becomes difficult to handle. If you find it is getting too stiff, you can return the pan to low heat for a few seconds to soften it up again. Also, greasing your hands is non-negotiable. I usually use a small amount of butter or vegetable oil on my palms. This makes shaping the balls much easier and prevents the sticky mess from getting under your fingernails.
When melting the chocolate, patience is key. Microwaves vary in power, so check the chocolate every 15-20 seconds. If you see steam, it is too hot. You want the chocolate to be fluid but not hot to the touch. If the chocolate is too hot, it will melt the rice krispie treat underneath, causing it to fall apart. Let it cool for a minute if needed. Also, adding a little shortening or coconut oil to the chocolate helps it stay smooth and shiny after it sets. This is a pro tip that makes a huge difference in the final appearance.
Finally, don’t stress about perfect shapes. Part of the charm of these treats is their homemade, slightly imperfect look. If a ball is a little lopsided, it just adds character. The goal is fun and flavor, not perfection. Trust your instincts and enjoy the process. You will be surprised at how forgiving the recipe is.
Variations & Adaptations
While the classic ghost and pumpkin designs are adorable, there are many ways to customize these treats to suit your preferences. One popular variation is to use colored marshmallows instead of white. You can mix vanilla and chocolate marshmallows for a speckled effect, or use orange and purple marshmallows for a vibrant Halloween palette. This changes the base color of the treat, so you might skip the chocolate dipping or use a thinner coating.
For a healthier twist, you can substitute half of the rice cereal with puffed quinoa or almond flour clusters. This adds a nutty flavor and extra protein, making the treats more filling. However, note that this will change the texture, making it less crispy. If you are avoiding dairy, use vegan marshmallows and dairy-free white chocolate chips. The melting properties might be slightly different, so you may need to add a bit more oil to the chocolate to get the right consistency.
You can also experiment with different flavors. Add a teaspoon of pumpkin pie spice to the marshmallow mixture for an autumnal flavor. Or, mix in some crushed peppermint candies for a minty twist. For a chocolate lover’s version, drizzle melted dark chocolate over the white chocolate coating before it sets. This creates a marbled effect that looks stunning. I once tried adding a swirl of peanut butter into the marshmallow mixture, and it was delicious, though it required more stirring to incorporate evenly.
Another idea is to shape the treats into different forms. Instead of balls, you can press the mixture into cookie cutters to make bats, spiders, or witches’ hats. This requires a bit more precision, but the results are impressive. You can also roll the balls in crushed cookies or sprinkles for added texture and visual appeal. The possibilities are endless, so feel free to get creative.
Serving & Storage Suggestions
These Cute Spooky Halloween Rice Krispie Pops are best served at room temperature. Cold treats can make the chocolate crack and the marshmallow too firm. Arrange them on a platter with parchment paper between layers if you are stacking them. They pair well with a cold glass of milk or a warm cup of cider. For a spooky presentation, serve them on a black platter to make the white and orange colors pop.
For storage, keep the treats in an airtight container at room temperature for up to 3 days. If you live in a hot or humid climate, store them in the refrigerator, but let them come to room temperature before serving to restore the soft texture. They do not freeze well, as the marshmallow can become icy and lose its chewiness. If you must freeze them, wrap them individually in plastic wrap and place them in a freezer-safe bag. Thaw them in the refrigerator overnight before serving.
Over time, the flavors will meld together, making the treats slightly sweeter. The chocolate coating may develop a slight bloom (white spots) if stored improperly, but this is harmless and does not affect the taste. To keep them looking fresh, avoid exposing them to direct sunlight or heat sources. If you are making them ahead of time, wait to add the candy eyes until just before serving to prevent them from sliding off or melting.
Nutritional Information & Benefits
While these treats are definitely a dessert, they do provide some quick energy thanks to the carbohydrates in the cereal and sugar. Each pop contains approximately 150-200 calories, depending on the size and coating. The marshmallows provide a quick sugar boost, while the rice cereal offers some fiber, especially if you use whole grain varieties. However, they are not a significant source of protein or healthy fats.
For those with dietary restrictions, remember to check the labels of your ingredients. Most rice cereals are gluten-free, but always verify. Marshmallows are generally gelatin-based, so they are not suitable for vegans. The white chocolate coating adds saturated fat, so moderation is key. These treats are best enjoyed as an occasional indulgence rather than a daily snack. I always balance them with a nutritious meal to keep my energy levels stable. They are a fun way to celebrate the holiday without completely derailing your healthy habits.
Conclusion
Making these Cute Spooky Halloween Rice Krispie Pops is a delightful way to embrace the holiday spirit. It is a simple recipe that yields impressive results, perfect for sharing with friends and family. I love this recipe because it brings back memories of childhood holidays while allowing for modern creative expression. It is easy to customize, fun to make, and delicious to eat. I encourage you to try this recipe and add your own personal touch. Whether you stick to the classic designs or experiment with new flavors, the joy of creating something special is what matters most.
I would love to hear how your treats turned out! Please leave a comment below with your photos and any variations you tried. Sharing your creations inspires others to get into the kitchen and have fun. Don’t forget to share this recipe with your friends who love Halloween treats. Happy baking, and enjoy your spooky creations!
FAQs
Can I use regular marshmallows instead of mini marshmallows?
Yes, you can, but they will take longer to melt. You may need to cut them into smaller pieces or melt them over lower heat for a longer time to ensure they melt evenly without burning.
How do I prevent the chocolate from cracking?
Cracking usually happens if the chocolate is too thick or if the treat is too cold. Make sure your white chocolate is smooth and fluid by adding a little shortening. Also, ensure the rice krispie balls are at room temperature before dipping.
Can I make these treats in advance?
Yes, you can make them up to 3 days in advance. Store them in an airtight container at room temperature. Add the decorations just before serving to keep them looking fresh.
What can I use instead of candy eyes?
You can use small black M&Ms, chocolate chips, or even dots of black frosting. Any small, dark edible item can work as eyes.
Why are my treats too hard?
This usually happens if the marshmallows are overcooked or if too much cereal is used. Ensure you are using the correct ratio and melting the marshmallows gently over low heat.
Pin This Recipe!
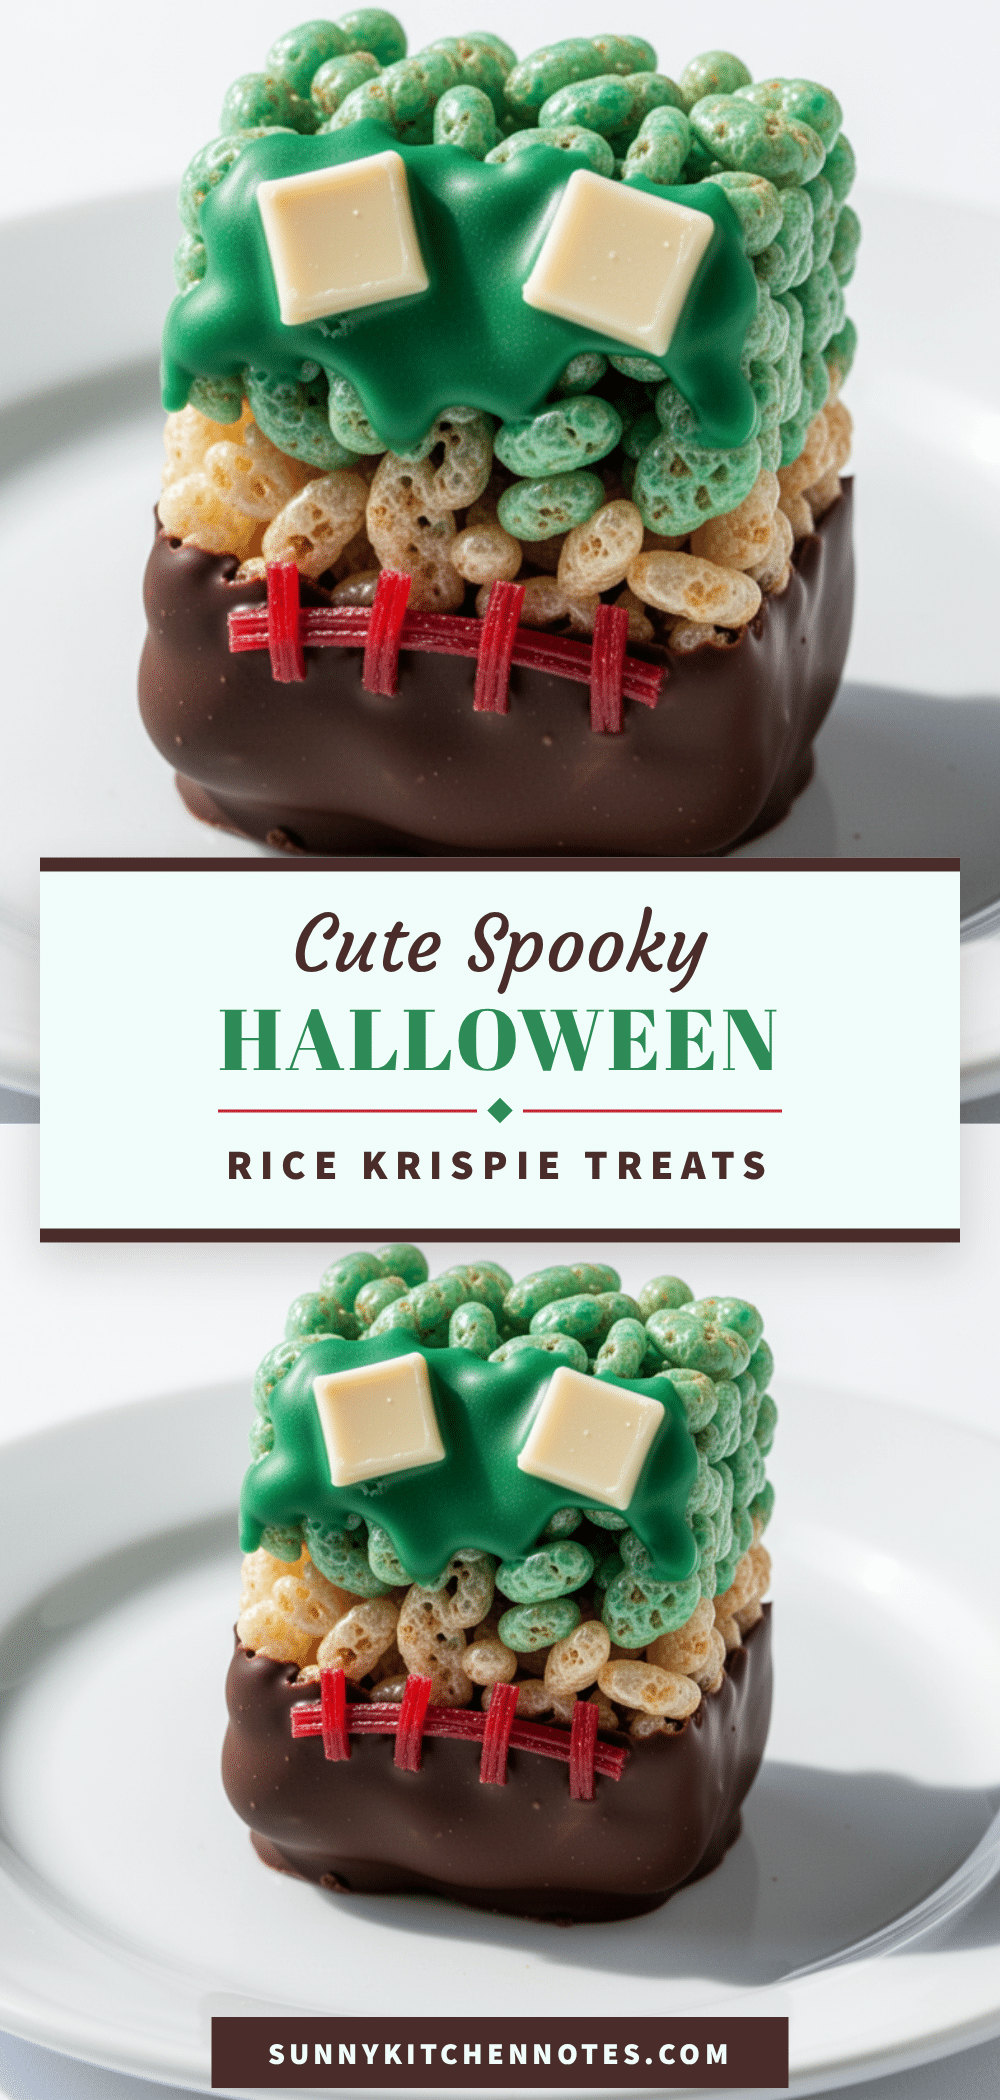
Cute Spooky Halloween Rice Krispie Pops
Easy, spooky Halloween treats made with simple pantry ingredients. These crunchy, chewy, and sweet Rice Krispie pops are shaped into ghosts and pumpkins, coated in white chocolate, and decorated with candy eyes for a fun, festive snack.
- Prep Time: 10 minutes
- Cook Time: 10 minutes
- Total Time: 20 minutes
- Yield: 15-20 servings 1x
- Category: Dessert
- Cuisine: American
Ingredients
- 10 ounces (1 standard bag) mini marshmallows
- 3 tablespoons unsalted butter
- 6 cups original crispy rice cereal
- 1 teaspoon pure vanilla extract
- 1 cup white chocolate chips
- 1 tablespoon shortening or coconut oil (for thinning chocolate)
- Orange and black gel food coloring
- Small black candy eyes
- Mini chocolate chips (for details)
Instructions
- Line a baking sheet with parchment paper and grease your hands with butter or cooking spray.
- In a large saucepan or Dutch oven, melt 3 tablespoons of unsalted butter over low heat.
- Add the mini marshmallows to the melted butter and stir constantly with a silicone spatula for 5-7 minutes until smooth and glossy.
- Remove the pan from heat and stir in 1 teaspoon of vanilla extract.
- Immediately add the 6 cups of rice cereal to the marshmallow mixture and stir gently but thoroughly until every piece is coated.
- With greased hands, scoop portions of the mixture and roll them into 2-inch diameter balls. Place them on the prepared baking sheet.
- In a microwave-safe bowl, combine 1 cup of white chocolate chips with 1 tablespoon of shortening or coconut oil. Microwave in 30-second intervals, stirring between each, until smooth.
- Dip each rice krispie ball into the melted white chocolate, letting excess drip off, then place back on the parchment paper.
- While the chocolate is still wet, place two candy eyes on the ball for a ghost look. For pumpkins, dip in orange-tinted chocolate or drizzle orange chocolate over the white base.
- Add mini chocolate chips for mouths or details. Let the treats set at room temperature for 15-20 minutes.
Notes
Work quickly once the cereal is added to the marshmallow mixture as it sets as it cools. Greasing your hands prevents sticking. If the chocolate thickens while dipping, add a tiny bit more shortening to loosen it. Do not overheat the marshmallows or the chocolate, as this can ruin the texture.
Nutrition
- Serving Size: 1 pop
- Calories: 175
- Sugar: 18
- Sodium: 120
- Fat: 8
- Saturated Fat: 5
- Carbohydrates: 25
- Fiber: 1
- Protein: 2
Keywords: Halloween treats, Rice Krispie pops, easy Halloween dessert, spooky snacks, kid-friendly recipes, party treats, white chocolate dipped treats