I burned the honey every time until I figured out the oven trick. It wasn’t a funny mistake. It was a smoky, angry, fire-alarm-screaming disaster that happened three separate times in one month. You know that smell? The one that clings to your curtains and makes your dog hide under the bed? Yeah, that was my kitchen for weeks.
I was trying to make Crispy Honey Garlic Baked Chicken Wings for a Super Bowl party. I wanted that sticky, glossy glaze that looks perfect in photos. Instead, I got charred, bitter shards of chicken that tasted like burnt sugar. I almost gave up. I almost ordered pizza and admitted defeat. But then I realized the honey was hitting the hot pan too early.
The sugar in the honey burns at a much lower temperature than the chicken needs to crisp up. So I changed the order. I baked the wings first until they were actually crunchy. Then, and only then, did I toss them in the warm sauce. The difference was night and day. No smoke. Just perfect, sticky, garlicky goodness.
I still remember the first bite of the second batch. It was sweet, salty, and had that incredible crunch you usually only get from deep frying. My friends didn’t even know it was baked. They kept asking what oil I used. I just smiled and kept eating. That moment changed how I cook wings forever. Now, I never fry them again.
Why You’ll Love This Recipe
Let’s face it, most baked wing recipes end up soggy. I get it. The skin just doesn’t crisp up like it does in a fryer. But this Crispy Honey Garlic Baked Chicken Wings recipe solves that problem completely. I’ve tested this method over a dozen times to make sure the skin stays crackly while the meat stays juicy. It’s not magic; it’s just about knowing how to handle the moisture.
Here is why this recipe wins every single time:
* **Quick & Easy**: The prep time is minimal. You just pat the wings dry and toss them in cornstarch. The oven does all the heavy lifting. It comes together in under 45 minutes, which is perfect for busy weeknights or last-minute cravings when you need comfort food fast.
* **Simple Ingredients**: No fancy grocery trips needed. You likely already have everything in your kitchen. I’m talking chicken wings, honey, soy sauce, garlic, and a little cornstarch. That’s it. It’s pantry-friendly and stress-free.
* **Perfect for Game Day**: Great for brunch, potlucks, or cozy dinners. These wings are the ultimate finger food. They don’t make a mess if you handle them right, and they disappear fast.
* **Crowd-Pleaser**: Always gets rave reviews from kids and adults alike. The sweet and savory flavor profile is a hit with everyone. Even my picky eater friend who usually only eats bread asked for the recipe.
* **Unbelievably Delicious**: The texture and flavor combo is next-level comfort food. The cornstarch creates a micro-layer of crispiness that holds up even after the sauce is added. It’s that soul-soothing satisfaction you crave on a rainy day.
What makes this different from other versions? It’s the two-stage cooking process. Most people try to bake and sauce at the same time. That’s a mistake. By baking the wings first, you drive off the moisture. Then, the warm sauce just coats them without making them soggy. It’s a small tweak that makes a huge difference. This isn’t just another version—it’s the best version because it actually works.
What Ingredients You Will Need
This recipe uses simple, wholesome ingredients to deliver bold flavor and satisfying texture without the fuss. The secret to the crispiness is actually in the dry ingredients, not the wet ones. I’ve learned that the quality of your garlic matters here, so don’t skip the fresh stuff.
Here is what you need to gather:
* **Chicken Wings**: I recommend using split wings (drumettes and flats) rather than whole wings. They are easier to eat and cook more evenly. Look for fresh wings, not frozen, if you can help it. Fresh wings have better skin texture. You’ll need about 2 to 3 pounds.
* **Cornstarch**: This is the non-negotiable ingredient. It draws out moisture and creates a crispy crust when baked. Do not use flour. Flour gets chewy. Cornstarch gets crunchy. I use the store brand, but any pure cornstarch works fine.
* **Salt and Pepper**: Basic seasoning. I use kosher salt because it sticks better to the skin. Freshly cracked black pepper adds a nice bite.
* **Honey**: Use a good quality honey. It doesn’t have to be expensive, but avoid the cheap corn syrup blends. They don’t have the right floral notes. I prefer clover or wildflower honey for this.
* **Soy Sauce**: Adds that umami depth. I use regular soy sauce, not low sodium, because the salt helps season the wings. Tamari is a good gluten-free swap if needed.
* **Garlic**: Fresh garlic is a must. Jarred garlic has a metallic taste that clashes with the sweet honey. I mince it finely so it distributes evenly. You’ll need about 4 to 5 cloves.
* **Sesame Oil**: Just a teaspoon. It adds a nutty aroma that elevates the whole dish. Toasted sesame oil is the best kind.
* **Red Pepper Flakes**: Optional, but recommended. If you like a little heat, this balances the sweetness. It adds a nice kick without overwhelming the flavor.
I recommend keeping these ingredients on hand because this recipe comes together so fast. If you run out of honey, maple syrup can work in a pinch, but the flavor will be different. The key is keeping the sauce warm before tossing the wings. Cold sauce makes the hot wings steam, which ruins the crunch.
Equipment Needed
You don’t need much to make this work. A standard baking sheet is all you really need. I prefer a rimmed baking sheet because the honey can bubble over. If you use a flat sheet, you’ll have a sticky mess in your oven.
* **Baking Sheet**: A large, rimmed baking sheet is essential. Line it with parchment paper for easy cleanup. The honey sticks to everything, and you don’t want to scrub your pan later.
* **Wire Rack**: This is the game-changer. Placing a wire rack on top of the baking sheet allows air to circulate under the wings. This ensures even browning on all sides. If you don’t have a rack, you can bake them directly on the parchment, but flip them halfway through.
* **Small Saucepan**: You need this to warm the sauce. Do not microwave the sauce if you can help it. Warming it gently on the stove keeps the texture smooth.
* **Large Mixing Bowl**: You need a big bowl to toss the wings in the sauce. A small bowl will just make a mess. I use a stainless steel bowl because it’s sturdy and easy to clean.
* **Paper Towels**: You need plenty of these to pat the wings dry. This step is crucial for crispiness. Wet wings equal soggy skin.
I once tried using a silicone mat instead of parchment. It didn’t work well because the honey stuck to the silicone. Parchment is the way to go. Also, make sure your wire rack fits snugly in your baking sheet. If it wobbles, the wings will slide around, and you won’t get even cooking.
Preparation Method
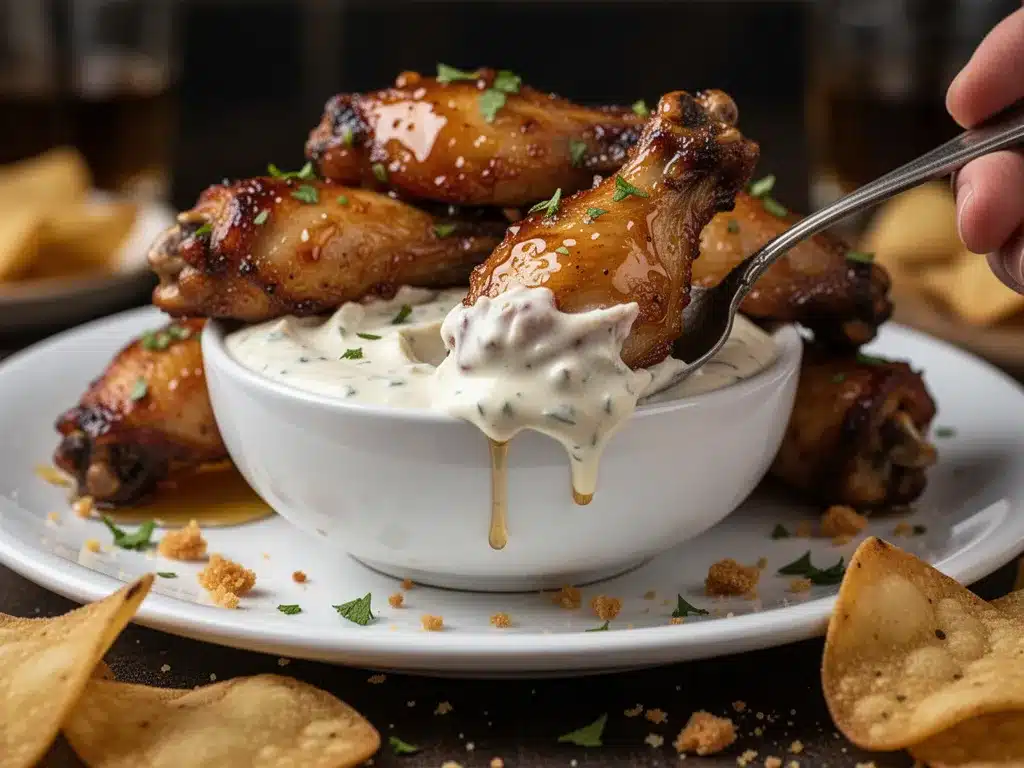
Getting the wings crispy starts before they even hit the oven. The first step is drying them. Take your chicken wings and pat them thoroughly dry with paper towels. This might seem tedious, but it’s the most important step. If the skin is wet, it will steam instead of crisp.
1. **Prep the Wings**: Preheat your oven to 400°F (200°C). Line a baking sheet with parchment paper and place a wire rack on top. Sprinkle the wings with salt and pepper. Then, add the cornstarch. Toss the wings until they are lightly coated. You want a thin layer, not a thick batter. Shake off any excess cornstarch. This step takes about 5 minutes.
2. **First Bake**: Place the wings on the wire rack in a single layer. Make sure they aren’t touching each other. If they are crowded, they will steam. Bake for 25 minutes. This initial bake drives off moisture and starts the crisping process.
3. **Flip and Crisp**: After 25 minutes, flip the wings. They should look pale but firm. Bake for another 15 minutes. You want them to be golden brown and crispy. If you want them darker, you can broil them for the last 2 minutes, but watch them closely. Honey burns fast.
4. **Make the Sauce**: While the wings bake, combine the honey, soy sauce, minced garlic, sesame oil, and red pepper flakes in a small saucepan. Heat over medium-low heat for about 2 minutes. You just want to warm it up and dissolve the honey. Do not boil it. Boiling can make the honey too thick and bitter.
5. **Toss and Serve**: Once the wings are done, transfer them to your large mixing bowl. Pour the warm sauce over the hot wings. Toss gently but quickly. You want every wing coated. Serve immediately while they are still crispy.
The total time is about 45 minutes. The key is patience during the baking phase. Don’t rush it. If the wings aren’t crispy before the sauce, they won’t be crispy after.
How do I know when the wings are done?
The skin should pull back slightly from the bone. The meat should feel firm when you press it. If you’re unsure, use a meat thermometer. The internal temperature should reach 165°F (74°C).
Can I use frozen wings?
It’s better to use fresh wings. If you must use frozen, thaw them completely and pat them very dry. Extra moisture is the enemy of crispiness.
Cooking Tips & Techniques
There are a few tricks I’ve learned the hard way to make sure these wings turn out perfect every time. The biggest mistake people make is overcrowding the pan. Air needs to circulate. If the wings are touching, the steam gets trapped, and the skin stays soft.
* **Pat Dry Aggressively**: I cannot stress this enough. Use fresh paper towels. Change them if they get wet. The drier the skin, the crispier the wing.
* **Cornstarch Ratio**: You don’t need a lot of cornstarch. Just enough to coat the skin lightly. If you use too much, it can get pasty. Shake the bowl well to remove excess.
* **Warm the Sauce**: Always warm the sauce before tossing. Cold sauce on hot wings creates steam. Steam kills crispiness. Keep the sauce warm in the pan or microwave it briefly.
* **Don’t Skip the Rack**: Baking directly on the pan is okay, but a rack is better. It prevents the bottom from getting soggy from the rendered fat.
I once tried baking at 450°F to speed things up. The outside burned before the inside was cooked. 400°F is the sweet spot. It’s hot enough to crisp, but not so hot that the sugar burns.
What if I don’t have a wire rack?
You can bake them directly on the parchment-lined sheet. Just flip them halfway through the cooking time. This helps both sides crisp up evenly.
Can I use an air fryer?
Yes, air fryers work great. Cook at 400°F for 20-25 minutes, shaking the basket every 5 minutes. Then toss in the sauce. The result is even crispier, but the oven method is more hands-off.
Variations & Adaptations
This base recipe is very flexible. You can change it up based on what you have or what you crave. I like to experiment with different flavor profiles.
* **Spicy Version**: Add more red pepper flakes or a dash of hot sauce to the glaze. Sriracha works well here. It adds a nice heat that balances the sweetness.
* **Lemon Herb**: Swap the soy sauce for lemon juice and add some chopped parsley. This is a lighter option that feels fresh and bright.
* **Soy Ginger**: Add fresh grated ginger to the sauce. Ginger and honey are a classic combo. It adds a zesty kick that pairs well with the garlic.
* **Gluten-Free**: Use tamari instead of soy sauce. Make sure your cornstarch is certified gluten-free. Most cornstarch is naturally gluten-free, but cross-contamination can happen.
I once made a version with maple syrup and bourbon. It was rich and smoky. It was a bit too sweet for me, but my husband loved it. It’s all about personal preference.
Can I make this vegan?
No, because the main ingredient is chicken. However, you can use cauliflower wings or tofu cubes. The sauce works perfectly with those too. Just adjust the cooking time for the vegetable protein.
What if I don’t like garlic?
You can omit the garlic, but the flavor will be less complex. Try adding some onion powder or a pinch of smoked paprika to compensate.
Serving & Storage Suggestions
These wings are best served immediately. They are hot, sticky, and crunchy. I like to serve them with a side of blue cheese dressing or ranch. The cool, creamy dip balances the sweet and salty wings perfectly.
* **Presentation**: Serve them on a platter with extra red pepper flakes on the side. Garnish with chopped green onions for a pop of color. It looks festive and appetizing.
* **Beverage Pairing**: A cold beer or a crisp white wine goes well with this dish. The carbonation helps cut through the richness.
If you have leftovers, store them in an airtight container in the fridge for up to 3 days. Reheat them in an oven or air fryer at 375°F for 5-10 minutes. Do not microwave them. Microwaving will make the skin soft and chewy. You lose the crispiness instantly.
Do the flavors change over time?
Yes, the flavors meld together as they sit. The next day, the wings are even more flavorful, but the texture suffers. That’s why reheating in an oven is key to restoring some of that crunch.
Can I freeze them?
It’s not recommended. The texture of the skin will change after freezing and thawing. It’s best to eat them fresh.
Nutritional Information & Benefits
While these wings are a treat, they aren’t completely devoid of nutrition. Chicken wings are a good source of protein. The honey provides a quick energy boost, though it is high in sugar.
* **Protein**: Each serving provides a decent amount of protein, which is essential for muscle repair.
* **Fat**: The skin contains healthy fats, especially if you use olive oil or sesame oil.
* **Allergens**: This recipe contains soy. If you are allergic to soy, use tamari or coconut aminos. It also contains sesame oil, so be cautious if you have a sesame allergy.
I try to balance these wings with a large salad or steamed vegetables. It helps keep the meal balanced. Moderation is key. Enjoy them as a special treat, not a daily staple.
Is this recipe keto-friendly?
No, the honey adds sugar. You can use a keto-friendly sweetener like erythritol, but the texture will be different. It won’t caramelize the same way.
How many calories are in a serving?
It varies based on portion size. A typical serving of 3-4 wings is around 300-400 calories. The sauce adds some sugar, so keep an eye on the portion size.
Conclusion
Making Crispy Honey Garlic Baked Chicken Wings doesn’t have to be a smoky, frustrating experience. Once you master the two-step baking process, you’ll have the perfect snack every time. It’s sweet, salty, crunchy, and garlicky. It’s the kind of food that brings people together.
I hope you try this recipe. Customize it to your liking. Add more heat, less garlic, or different herbs. The base is solid, so you can’t go wrong. Let me know how it turns out. I’d love to hear your variations and tips.
Share this with your friends who love wings. Tag me in your photos if you post them online. I love seeing how you make it your own. Happy cooking!
FAQs
Why are my baked wings not crispy?
The most common reason is excess moisture. Make sure you pat the wings very dry before adding the cornstarch. Also, ensure they are not touching on the baking sheet. Crowding leads to steaming.
Can I use chicken drumsticks instead of wings?
Yes, you can. Drumsticks take longer to cook. You may need to increase the baking time by 10-15 minutes. The sauce will still work perfectly.
What is the best way to reheat leftovers?
Use an oven or air fryer. Set it to 375°F and heat for 5-10 minutes. This restores the crispiness. Avoid the microwave.
Can I make the sauce ahead of time?
Yes, you can make the sauce a day in advance. Store it in the fridge. Warm it up before tossing the wings. This saves time on game day.
Is cornstarch necessary?
Yes, for crispy skin. Cornstarch draws out moisture and creates a thin, crunchy layer. Flour or breadcrumbs won’t give you the same result.
Pin This Recipe!
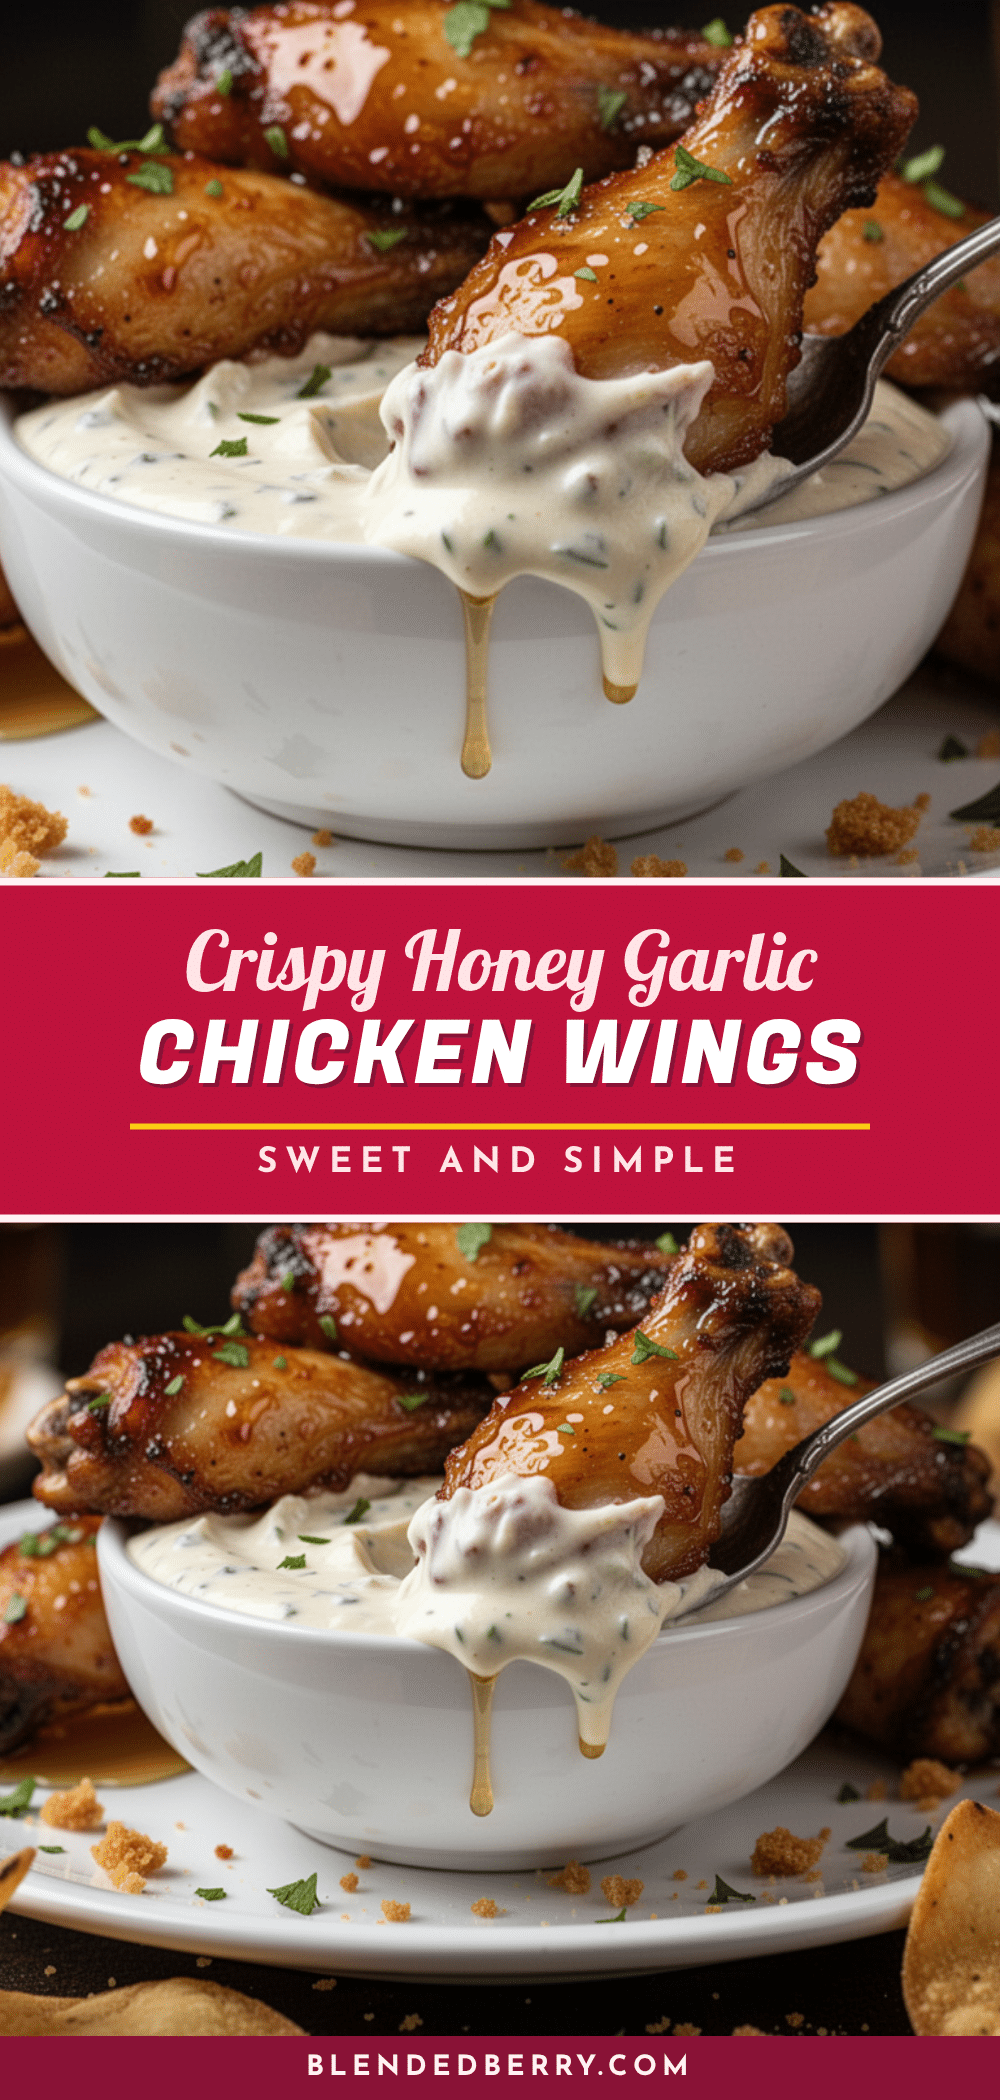
Crispy Honey Garlic Baked Chicken Wings

A simple 5-ingredient recipe for perfectly crispy baked chicken wings with a sticky, sweet, and savory honey garlic glaze. The secret is baking the wings first to crisp the skin before tossing them in the warm sauce.
- Prep Time: 5 minutes
- Cook Time: 40 minutes
- Total Time: 45 minutes
- Yield: 4 servings 1x
- Category: Appetizer
- Cuisine: American
Ingredients
- 2 to 3 lbs chicken wings (split into drumettes and flats)
- Cornstarch (for coating)
- Kosher salt
- Freshly cracked black pepper
- Honey (clover or wildflower)
- Soy sauce
- 4 to 5 cloves fresh garlic, minced
- 1 tsp toasted sesame oil
- Red pepper flakes (optional, for heat)
Instructions
- Preheat oven to 400°F (200°C). Line a rimmed baking sheet with parchment paper and place a wire rack on top.
- Pat chicken wings thoroughly dry with paper towels to remove excess moisture.
- Season wings with salt and pepper, then toss with cornstarch until lightly coated. Shake off any excess cornstarch.
- Arrange wings in a single layer on the wire rack, ensuring they are not touching.
- Bake for 25 minutes.
- Flip the wings and bake for another 15 minutes until golden brown and crispy. Optionally broil for 2 minutes for extra crispness, watching closely to prevent burning.
- While wings bake, combine honey, soy sauce, minced garlic, sesame oil, and red pepper flakes in a small saucepan. Heat over medium-low for 2 minutes to warm and dissolve, but do not boil.
- Transfer hot wings to a large mixing bowl.
- Pour the warm sauce over the wings and toss gently to coat evenly.
- Serve immediately while crispy.
Notes
Patting the wings dry is crucial for crispiness. Do not crowd the pan; wings must have space to air circulate. Always warm the sauce before tossing to prevent steaming the wings. If you don’t have a wire rack, bake directly on the sheet and flip halfway through. For gluten-free, use tamari instead of soy sauce.
Nutrition
- Serving Size: 3-4 wings per servin
- Calories: 350
- Sugar: 16
- Sodium: 450
- Fat: 22
- Saturated Fat: 6
- Carbohydrates: 18
- Protein: 15
Keywords: chicken wings, honey garlic wings, baked wings, party snack, game day food, crispy wings, easy recipe, 5-ingredient recipe